Module 3 Formstorming

Weekly Activity Template

Evan Saisenesouk


Project 3


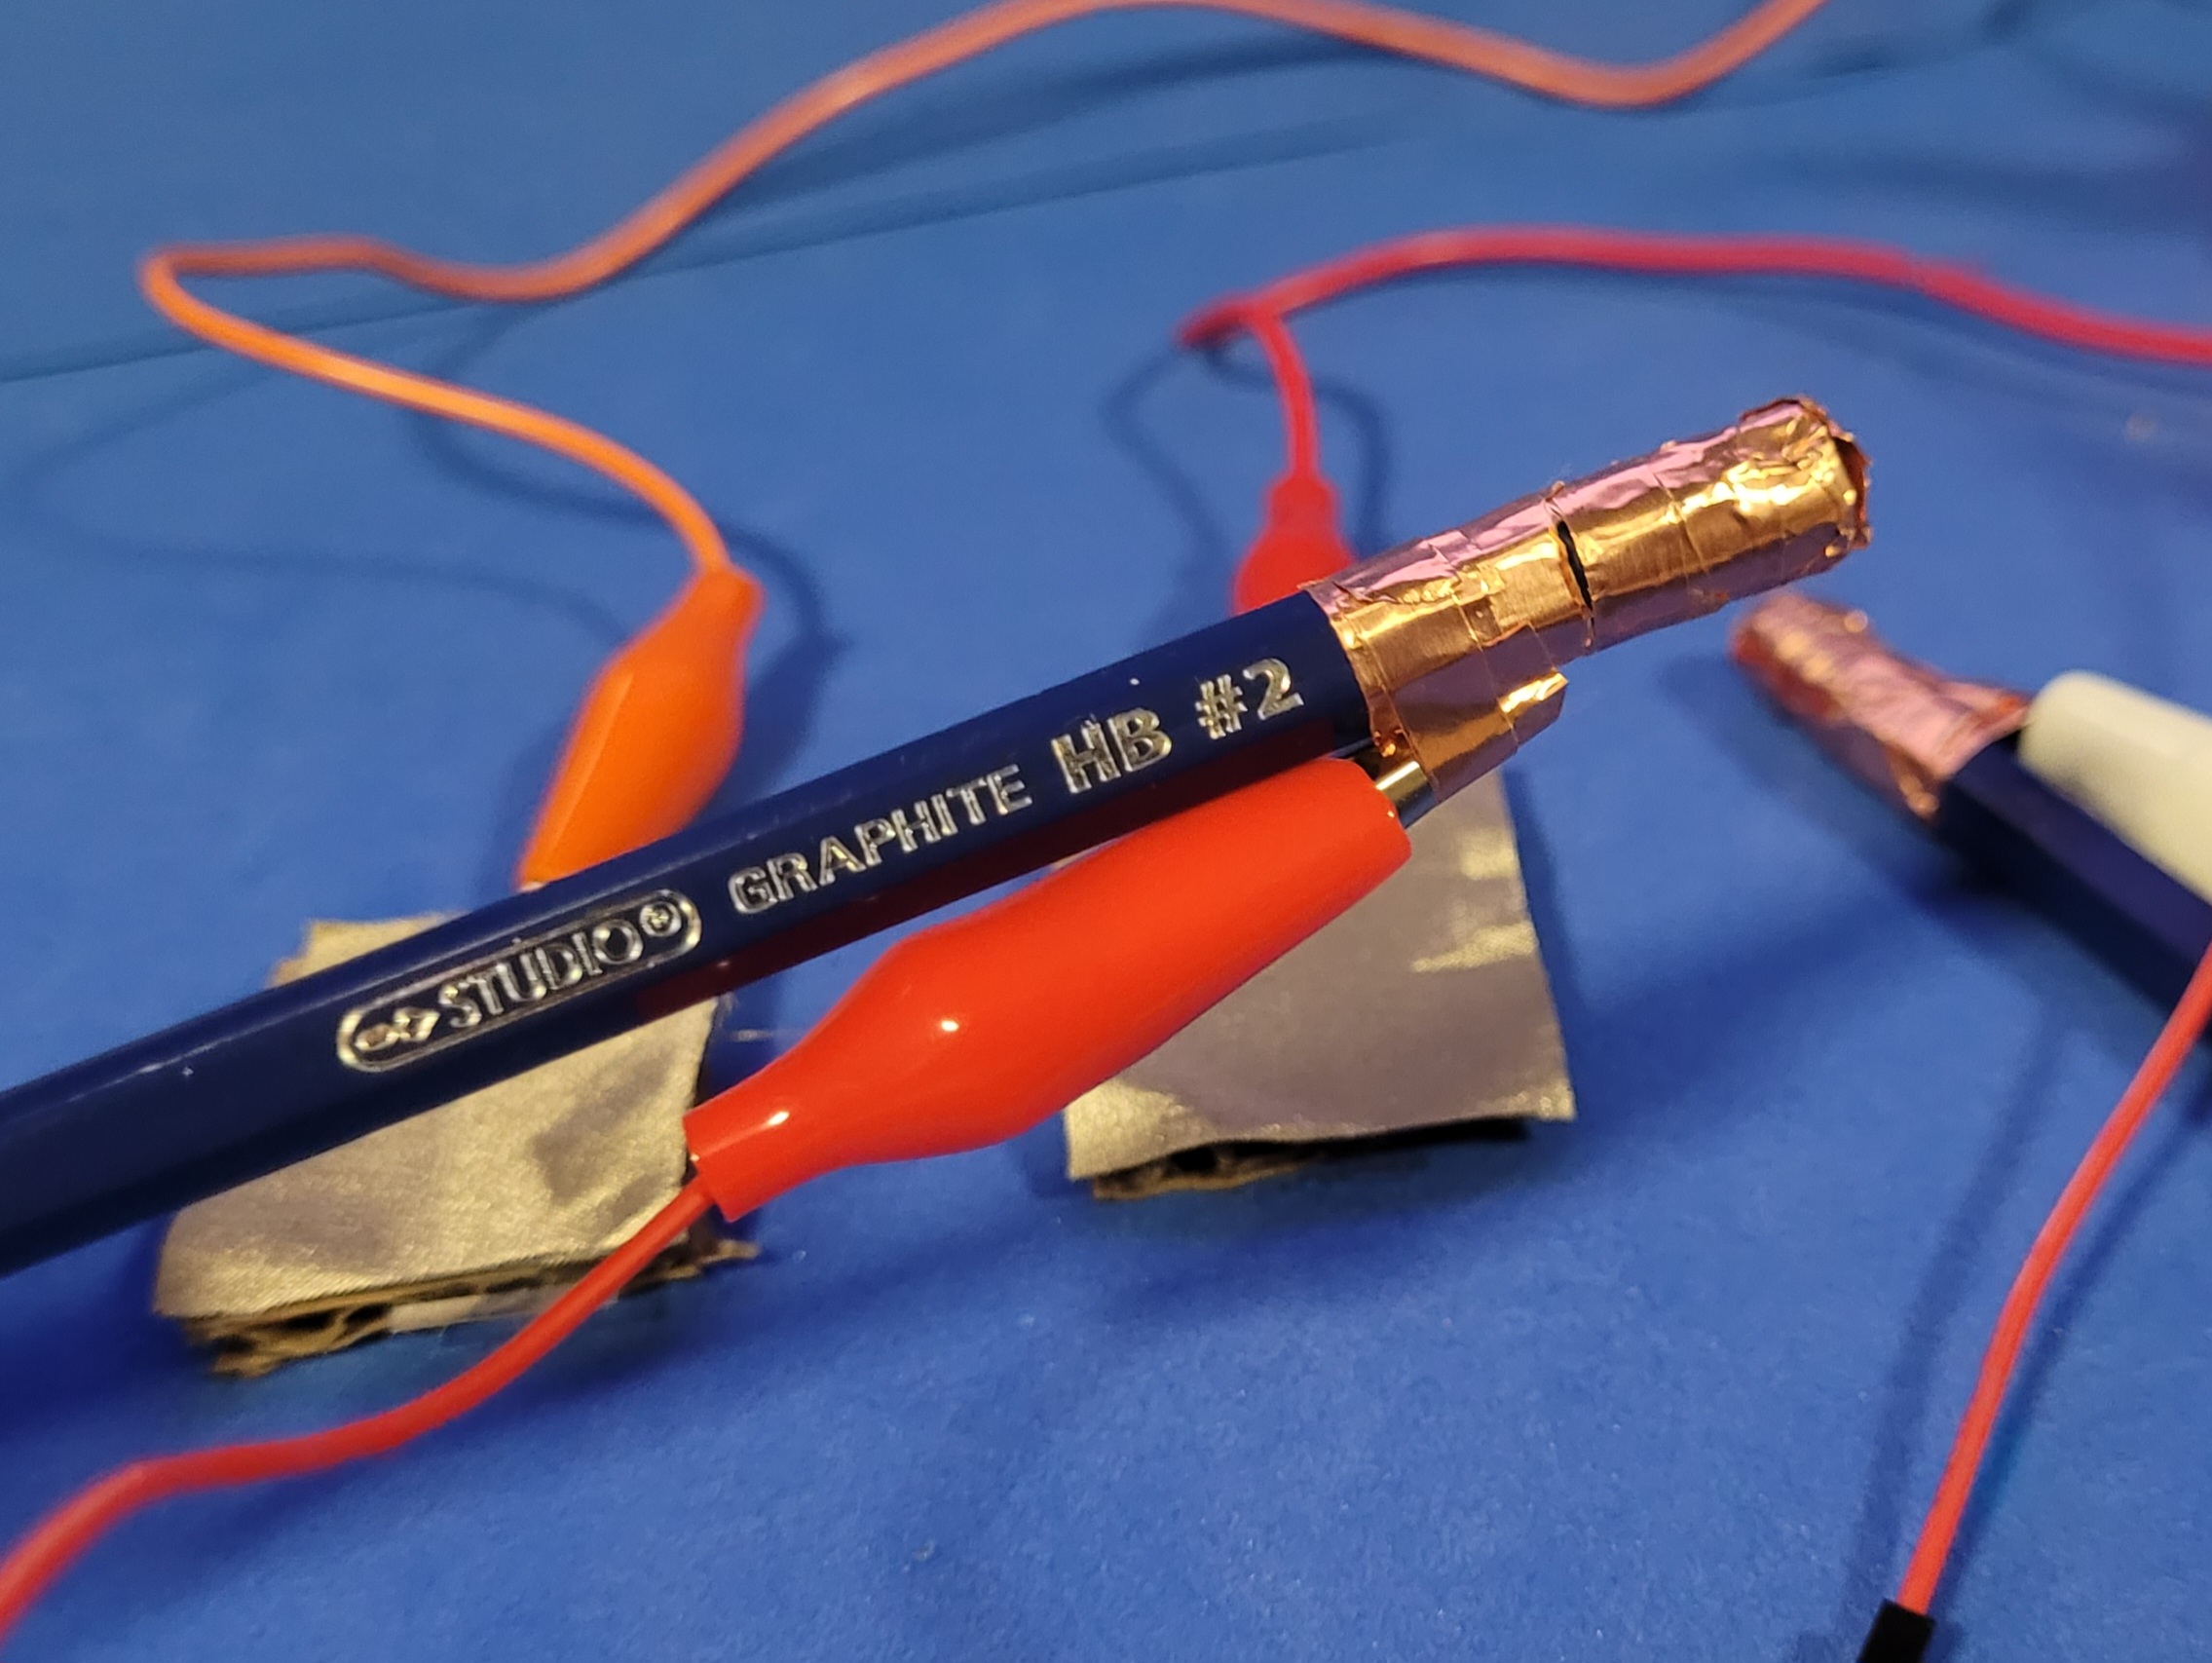
The final project in Media Motion and the Body for IXD is one that incorporates several techniques and methods learned over the term

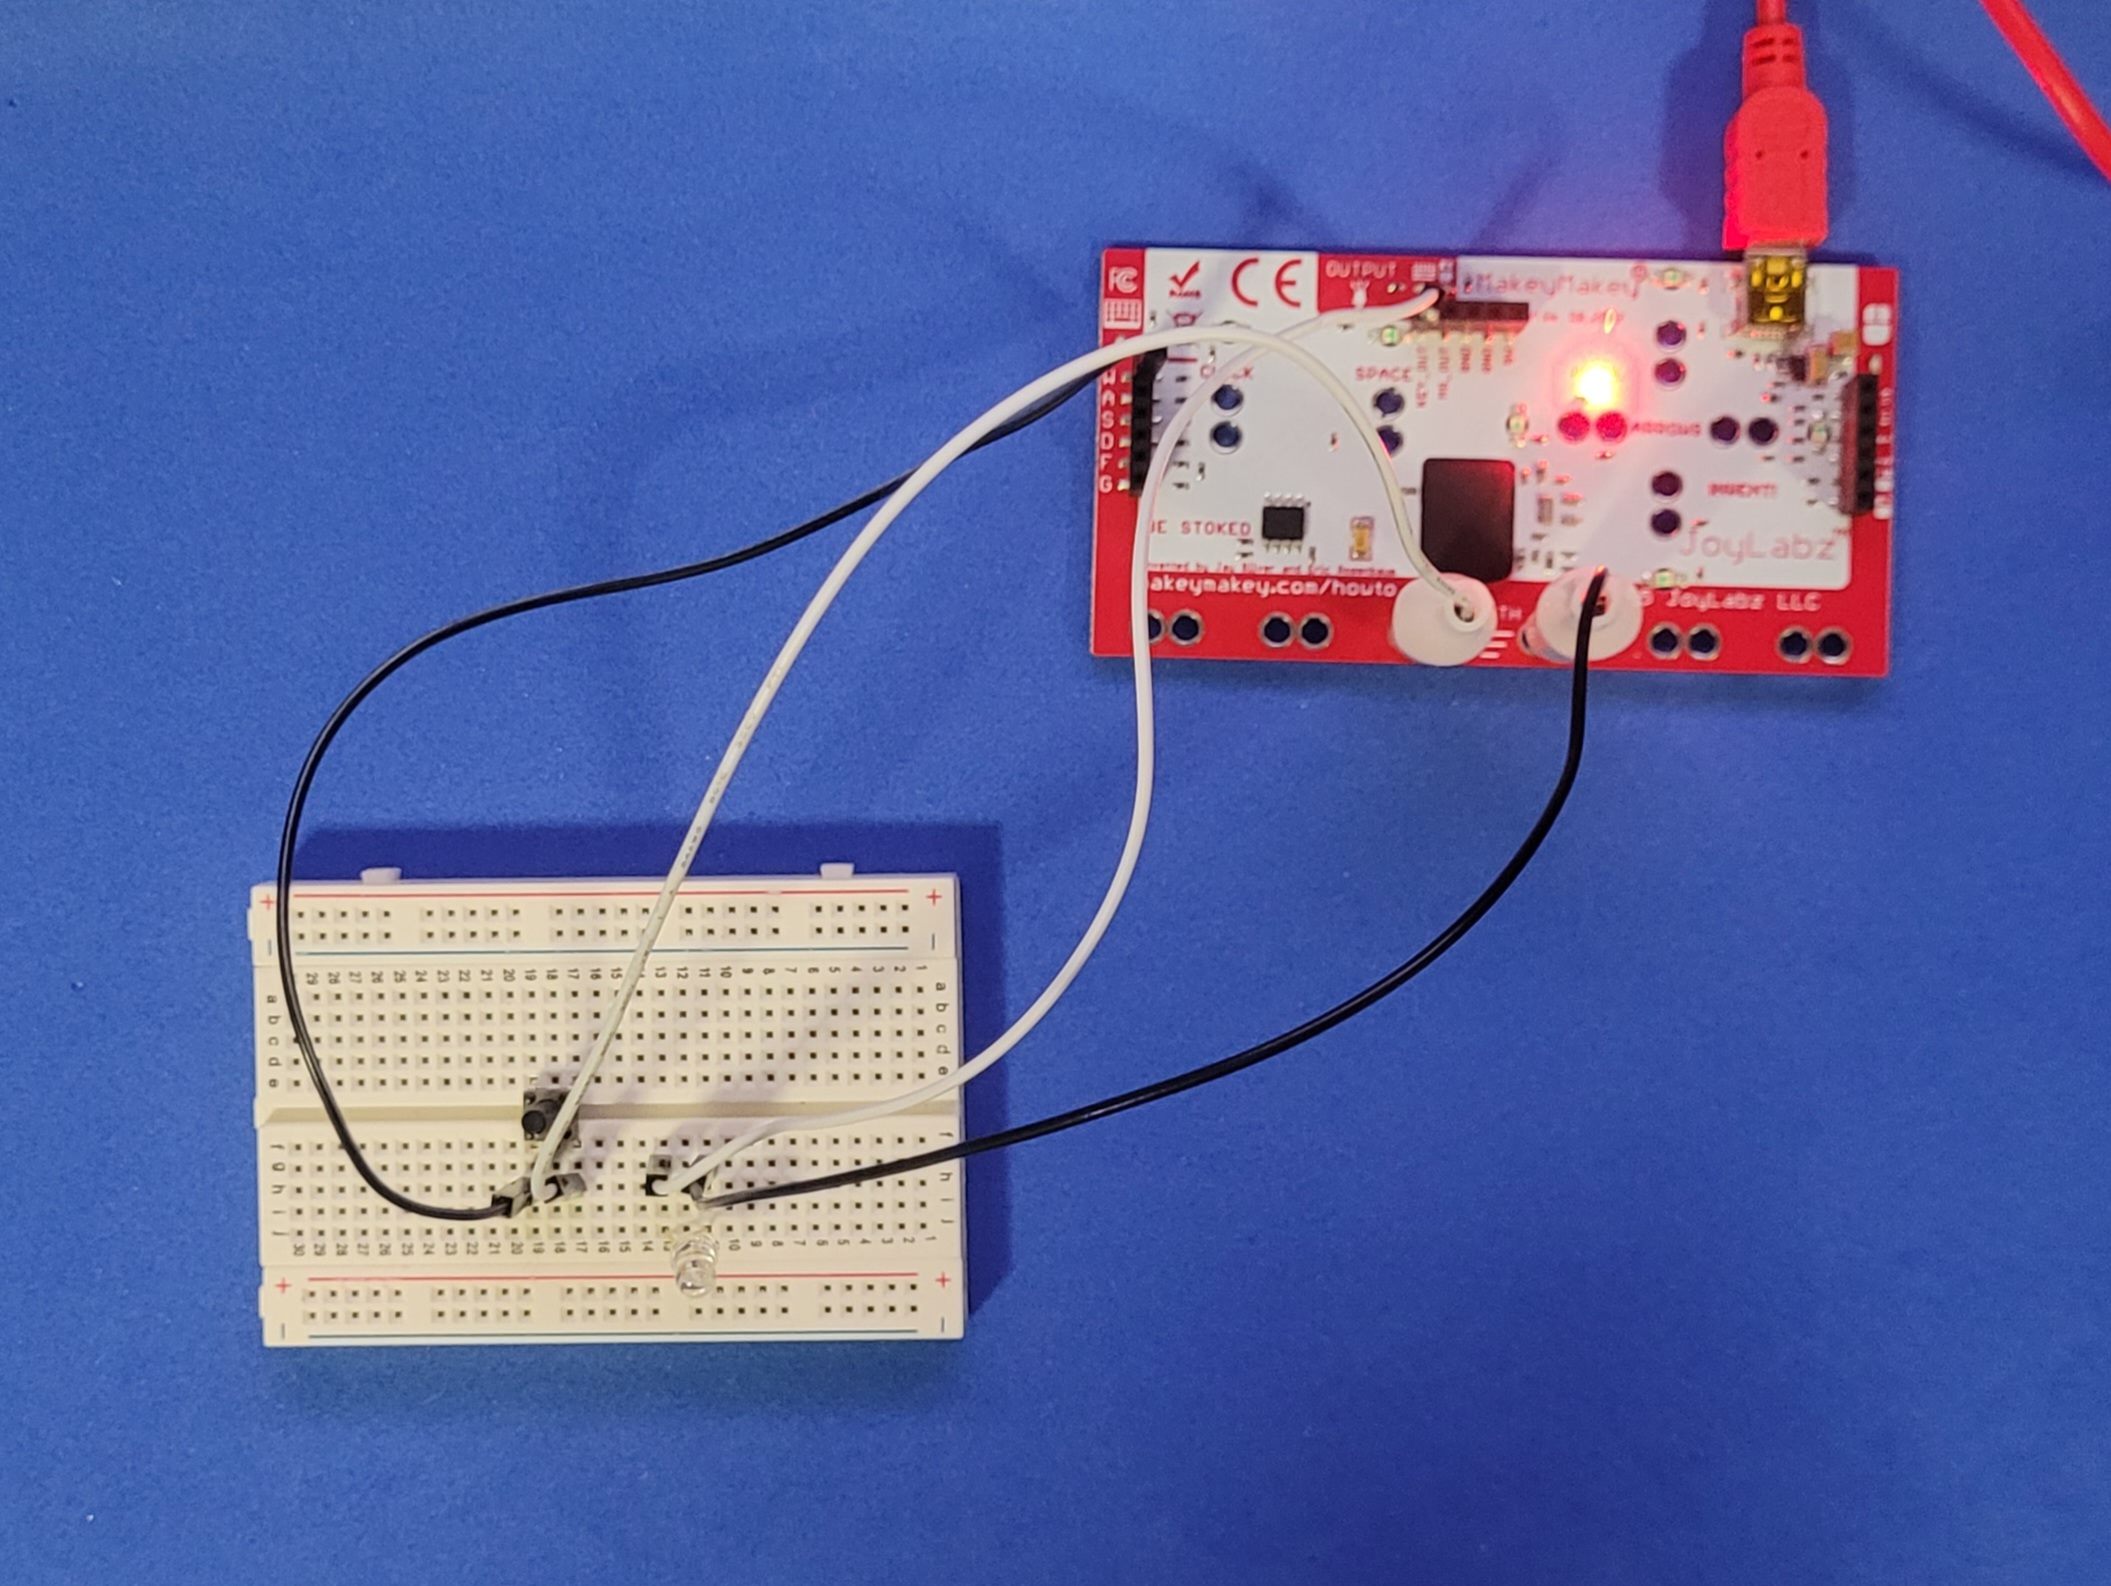
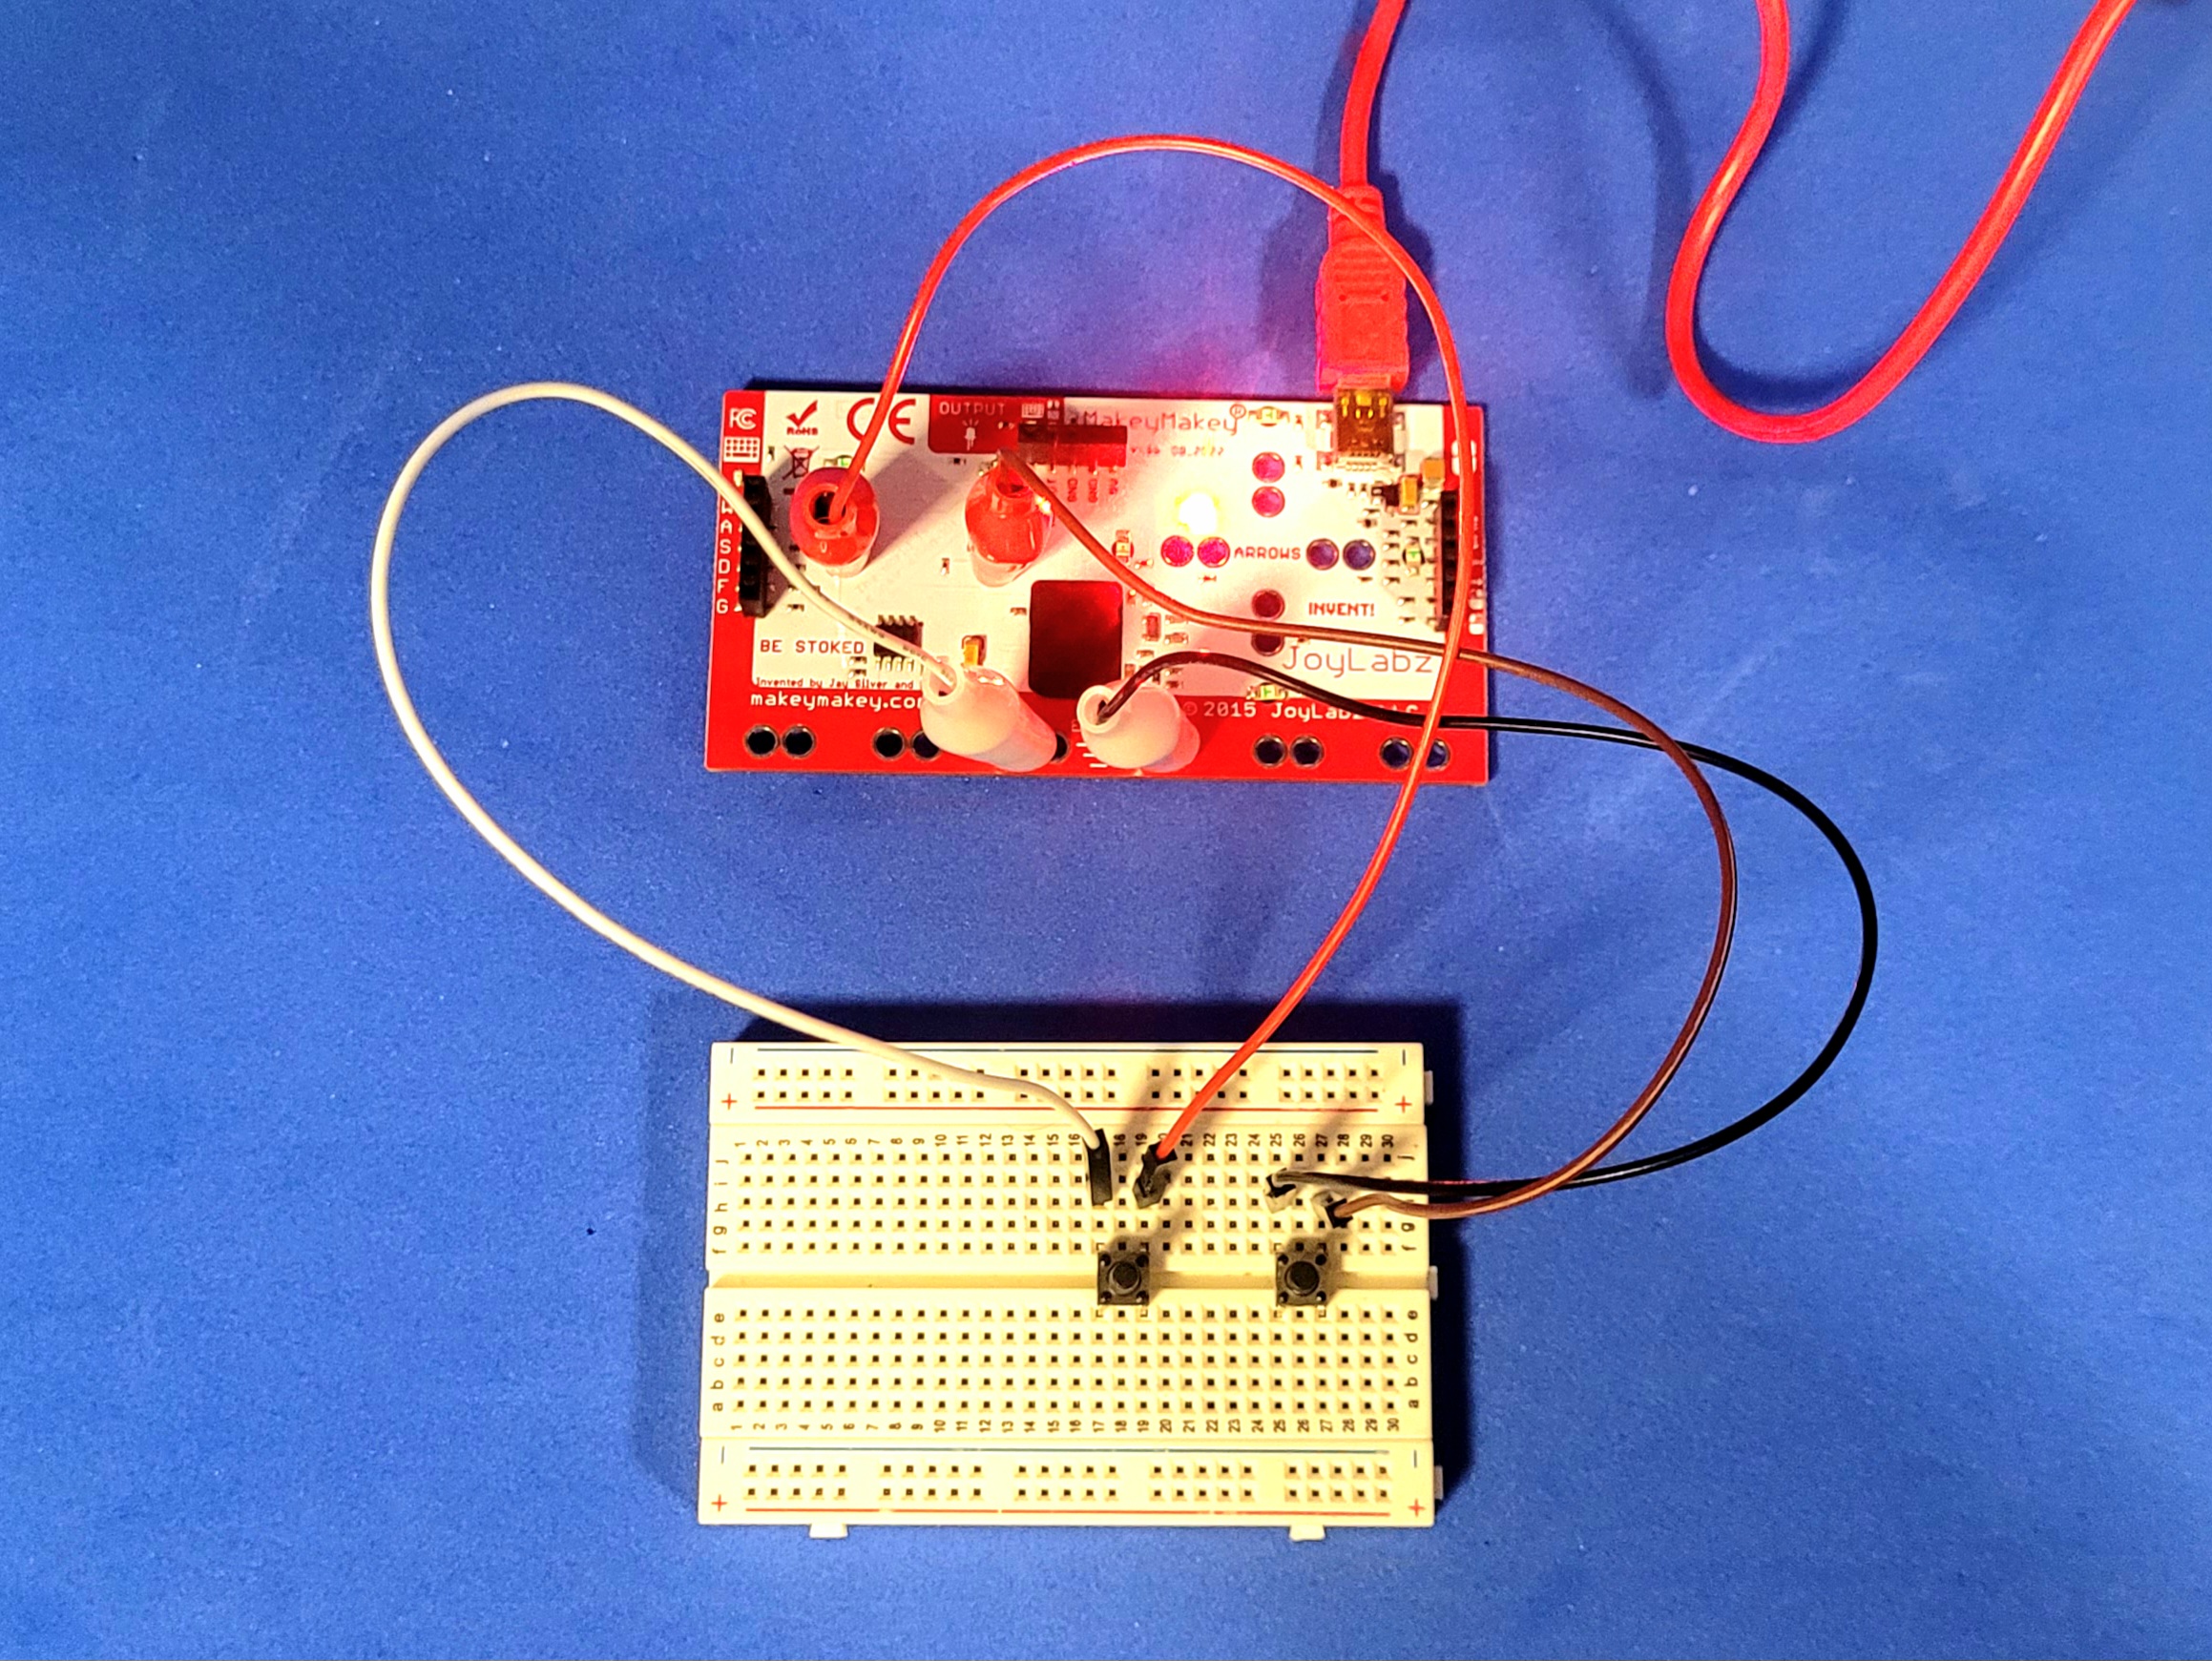
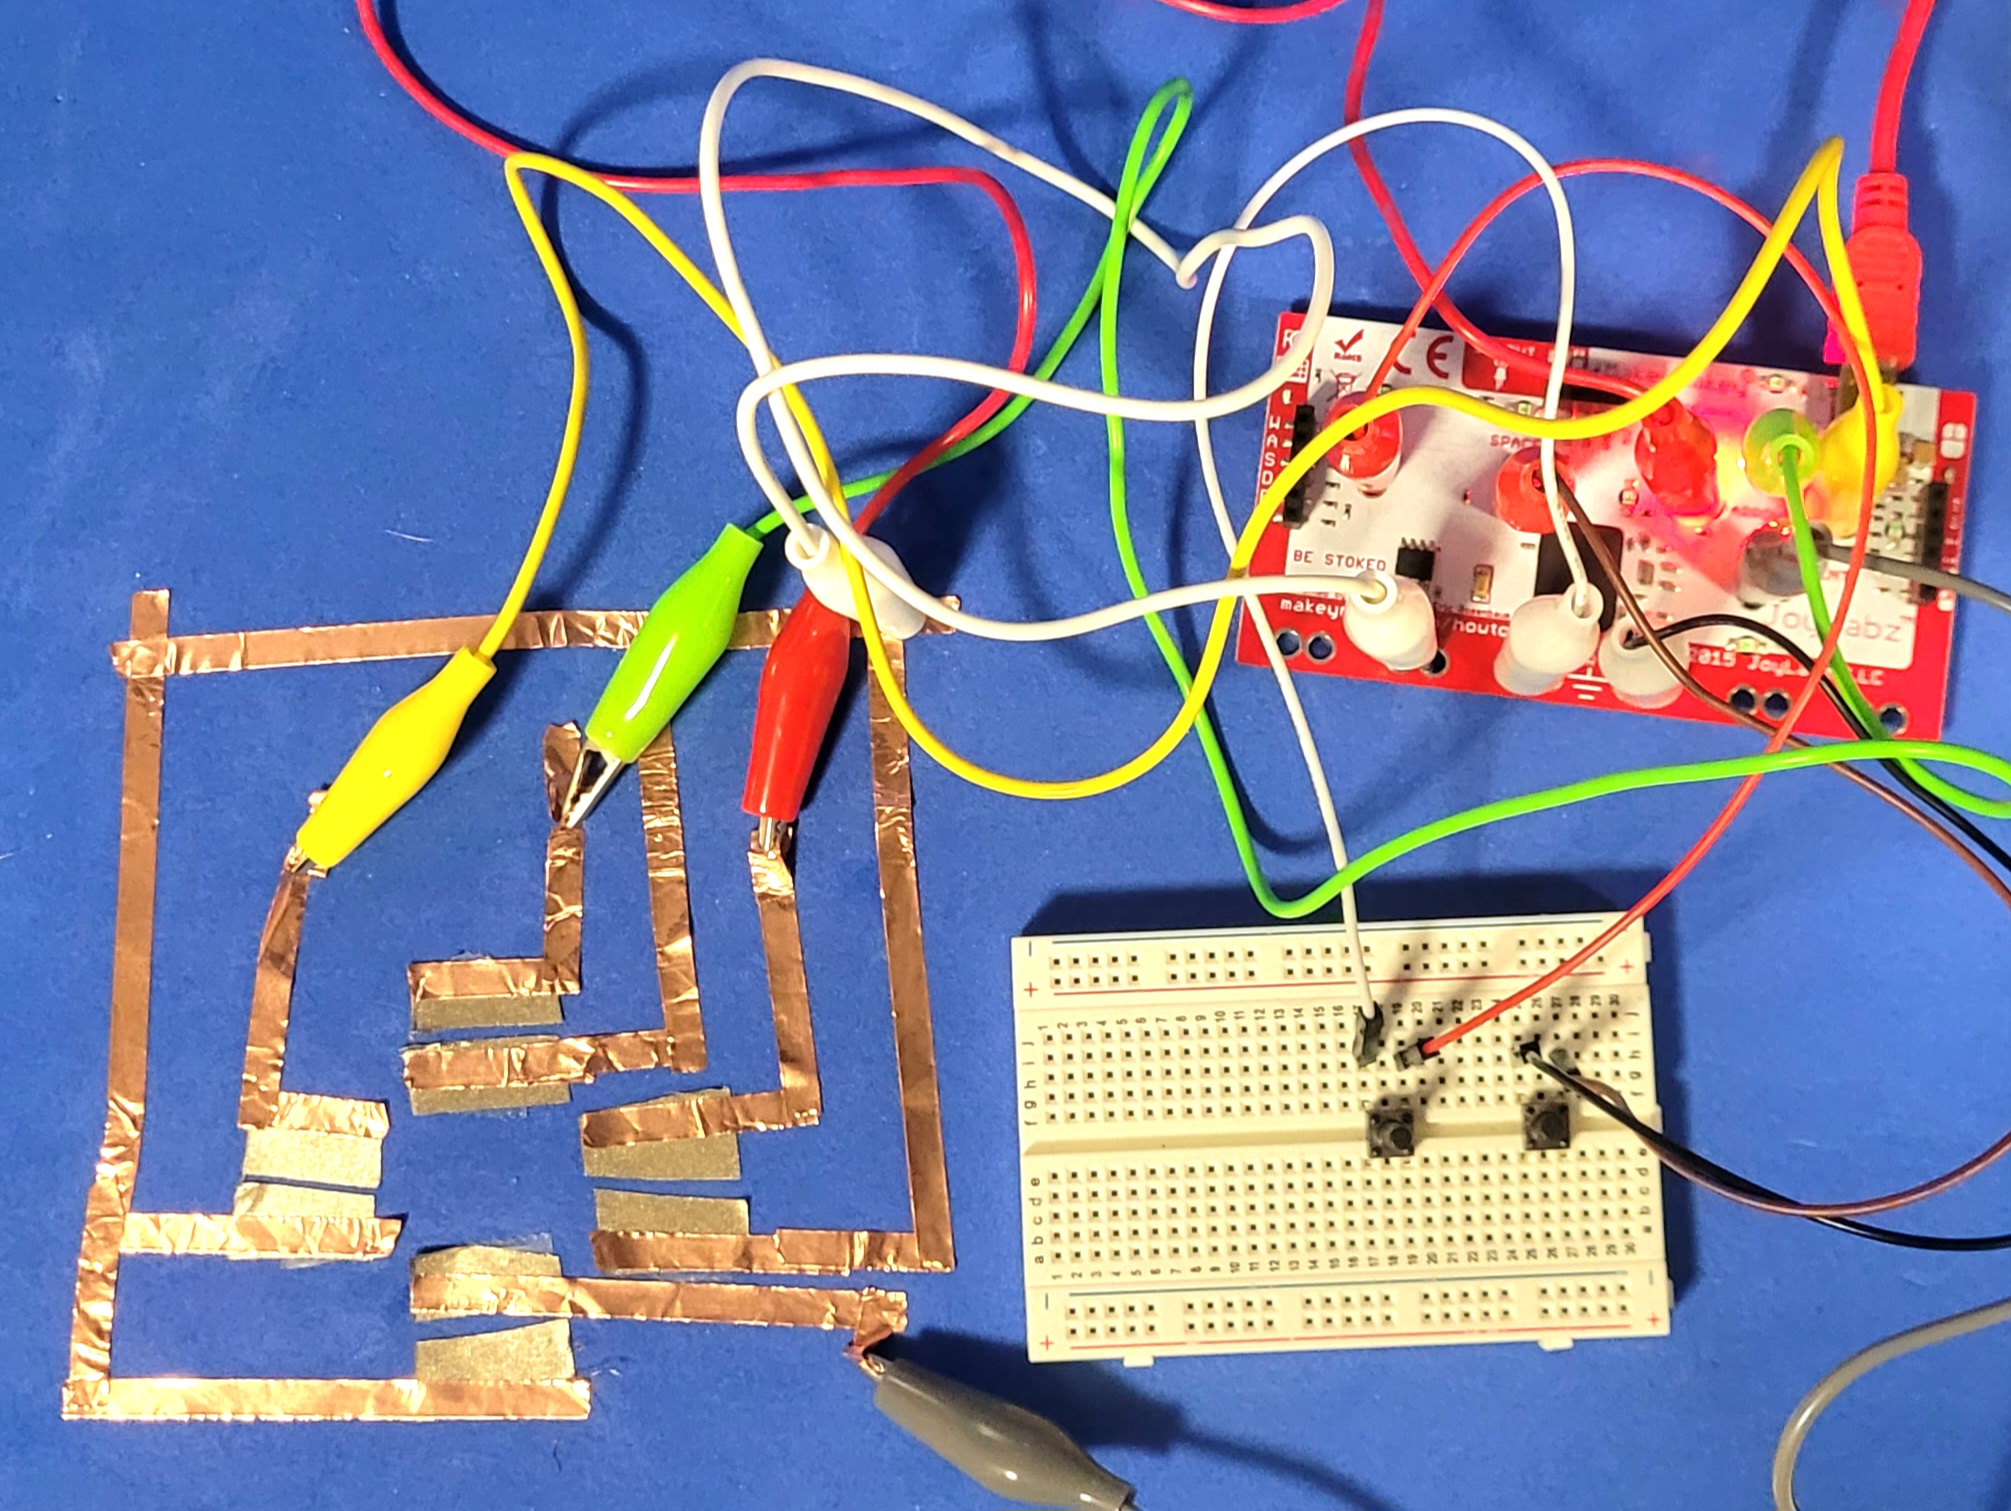
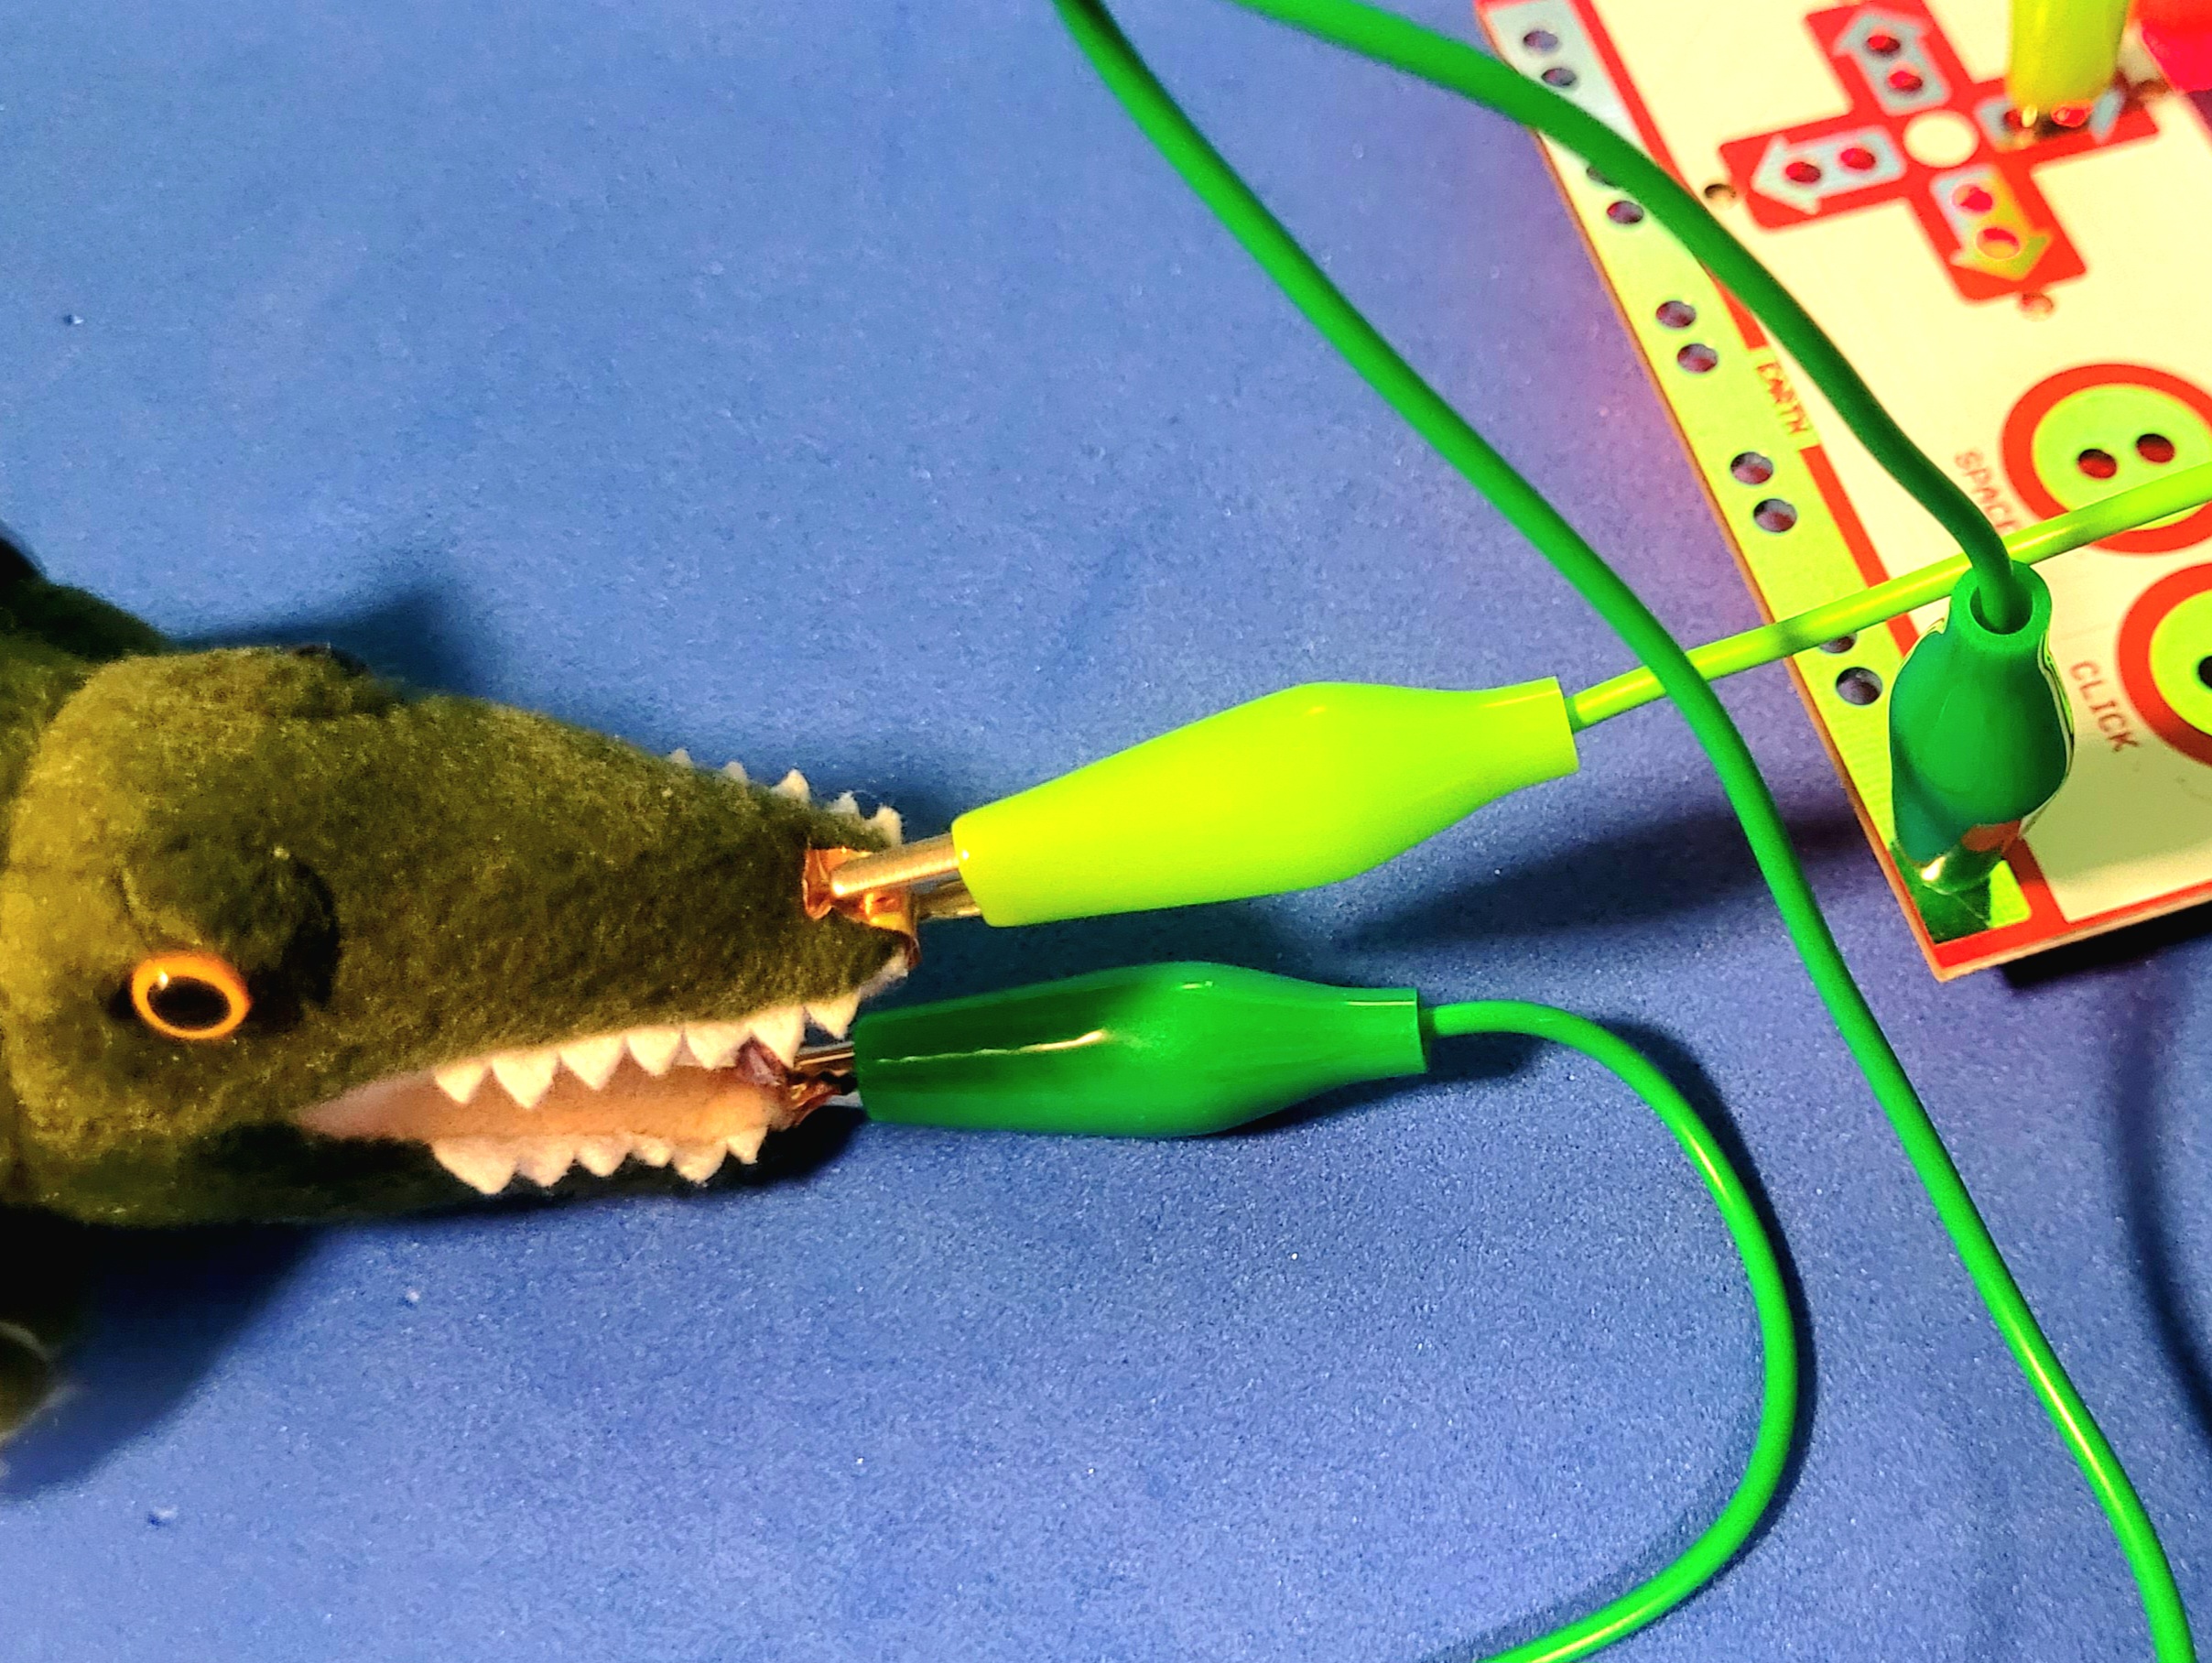
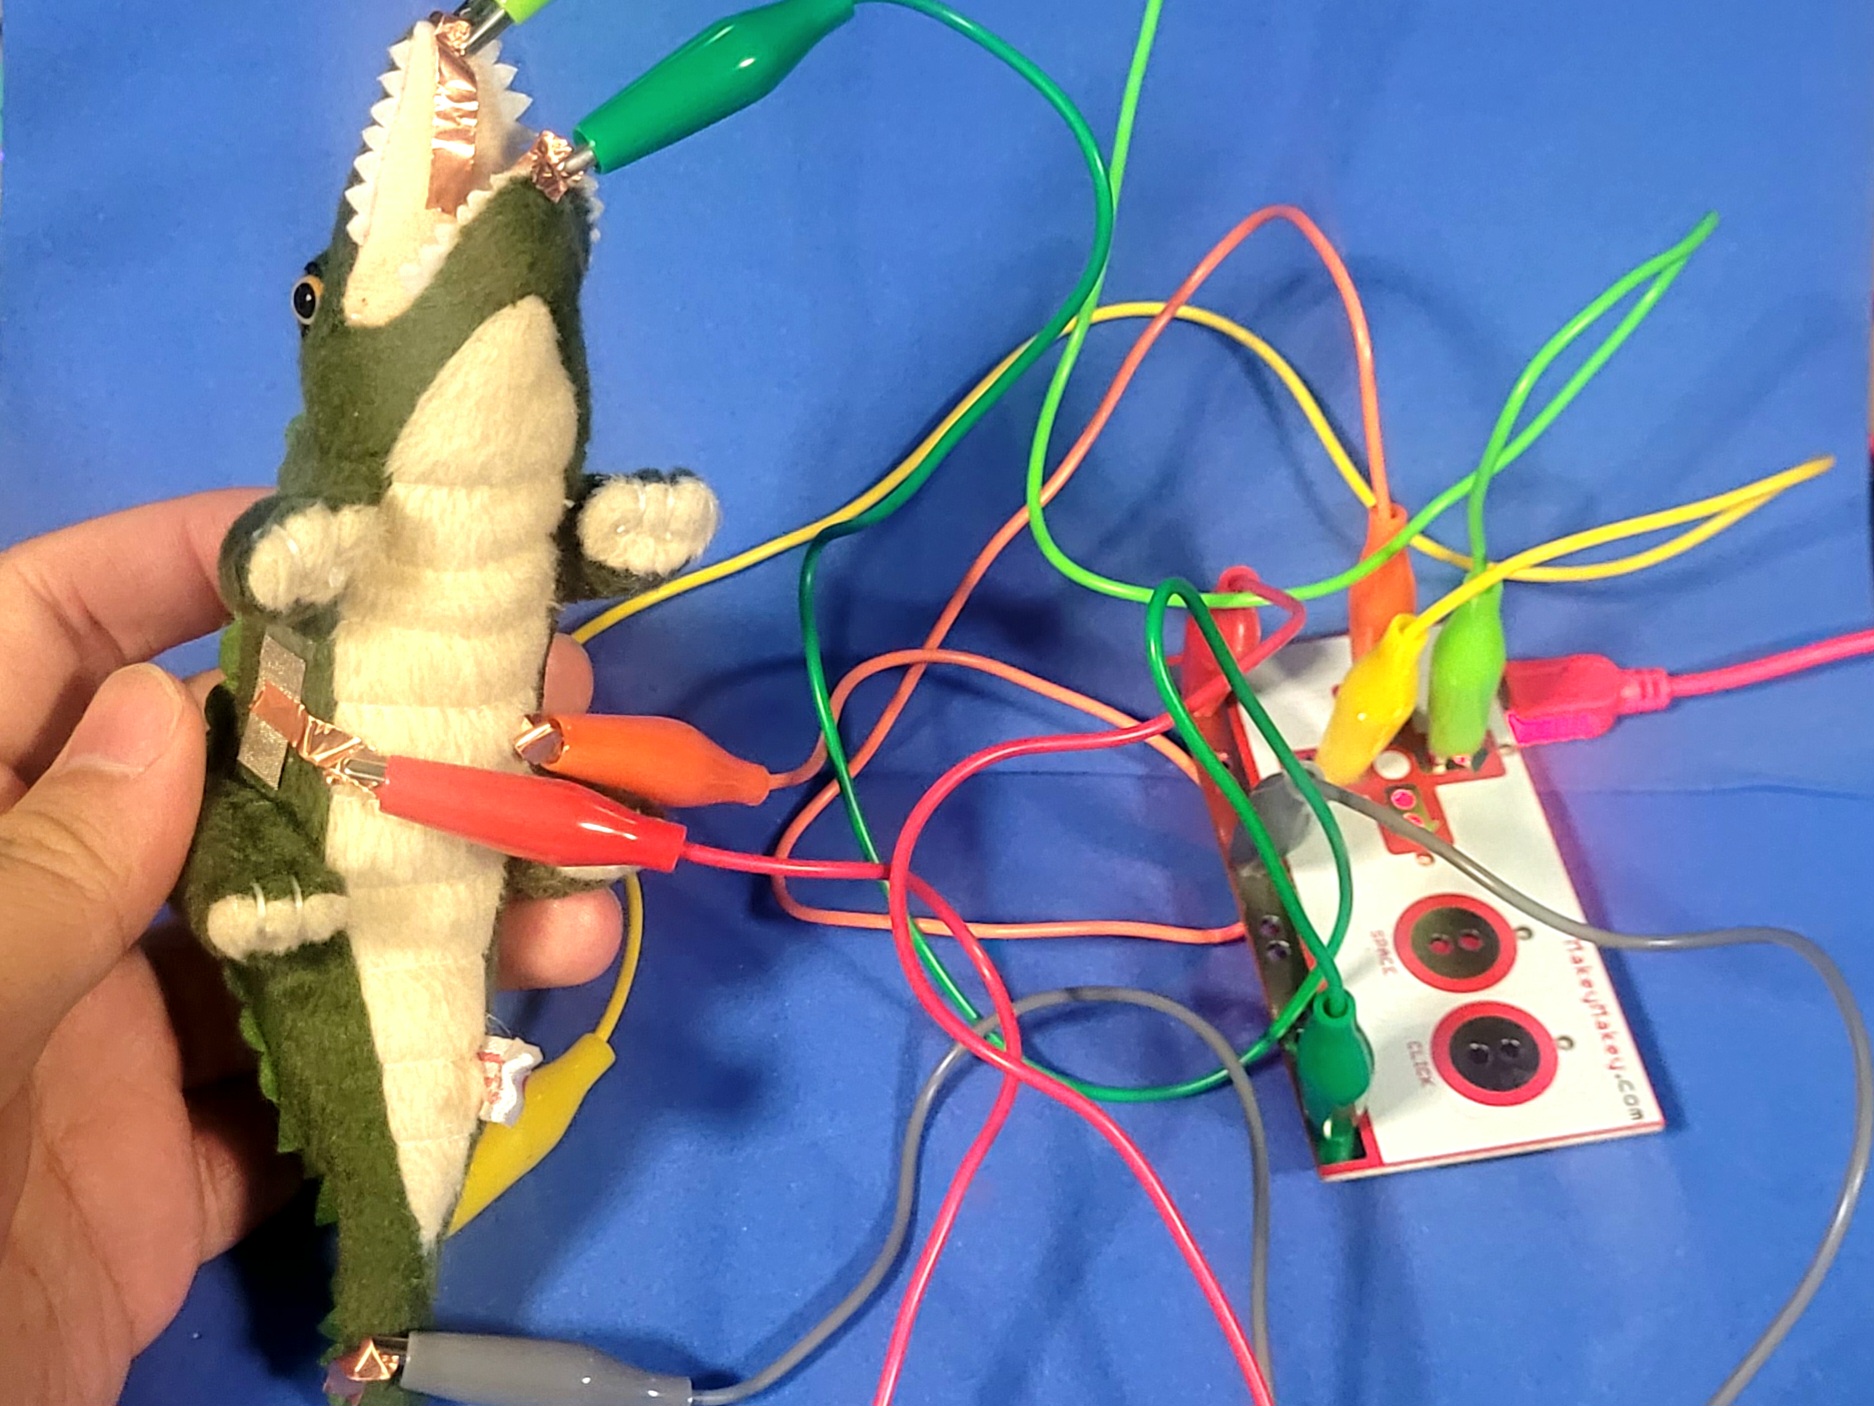
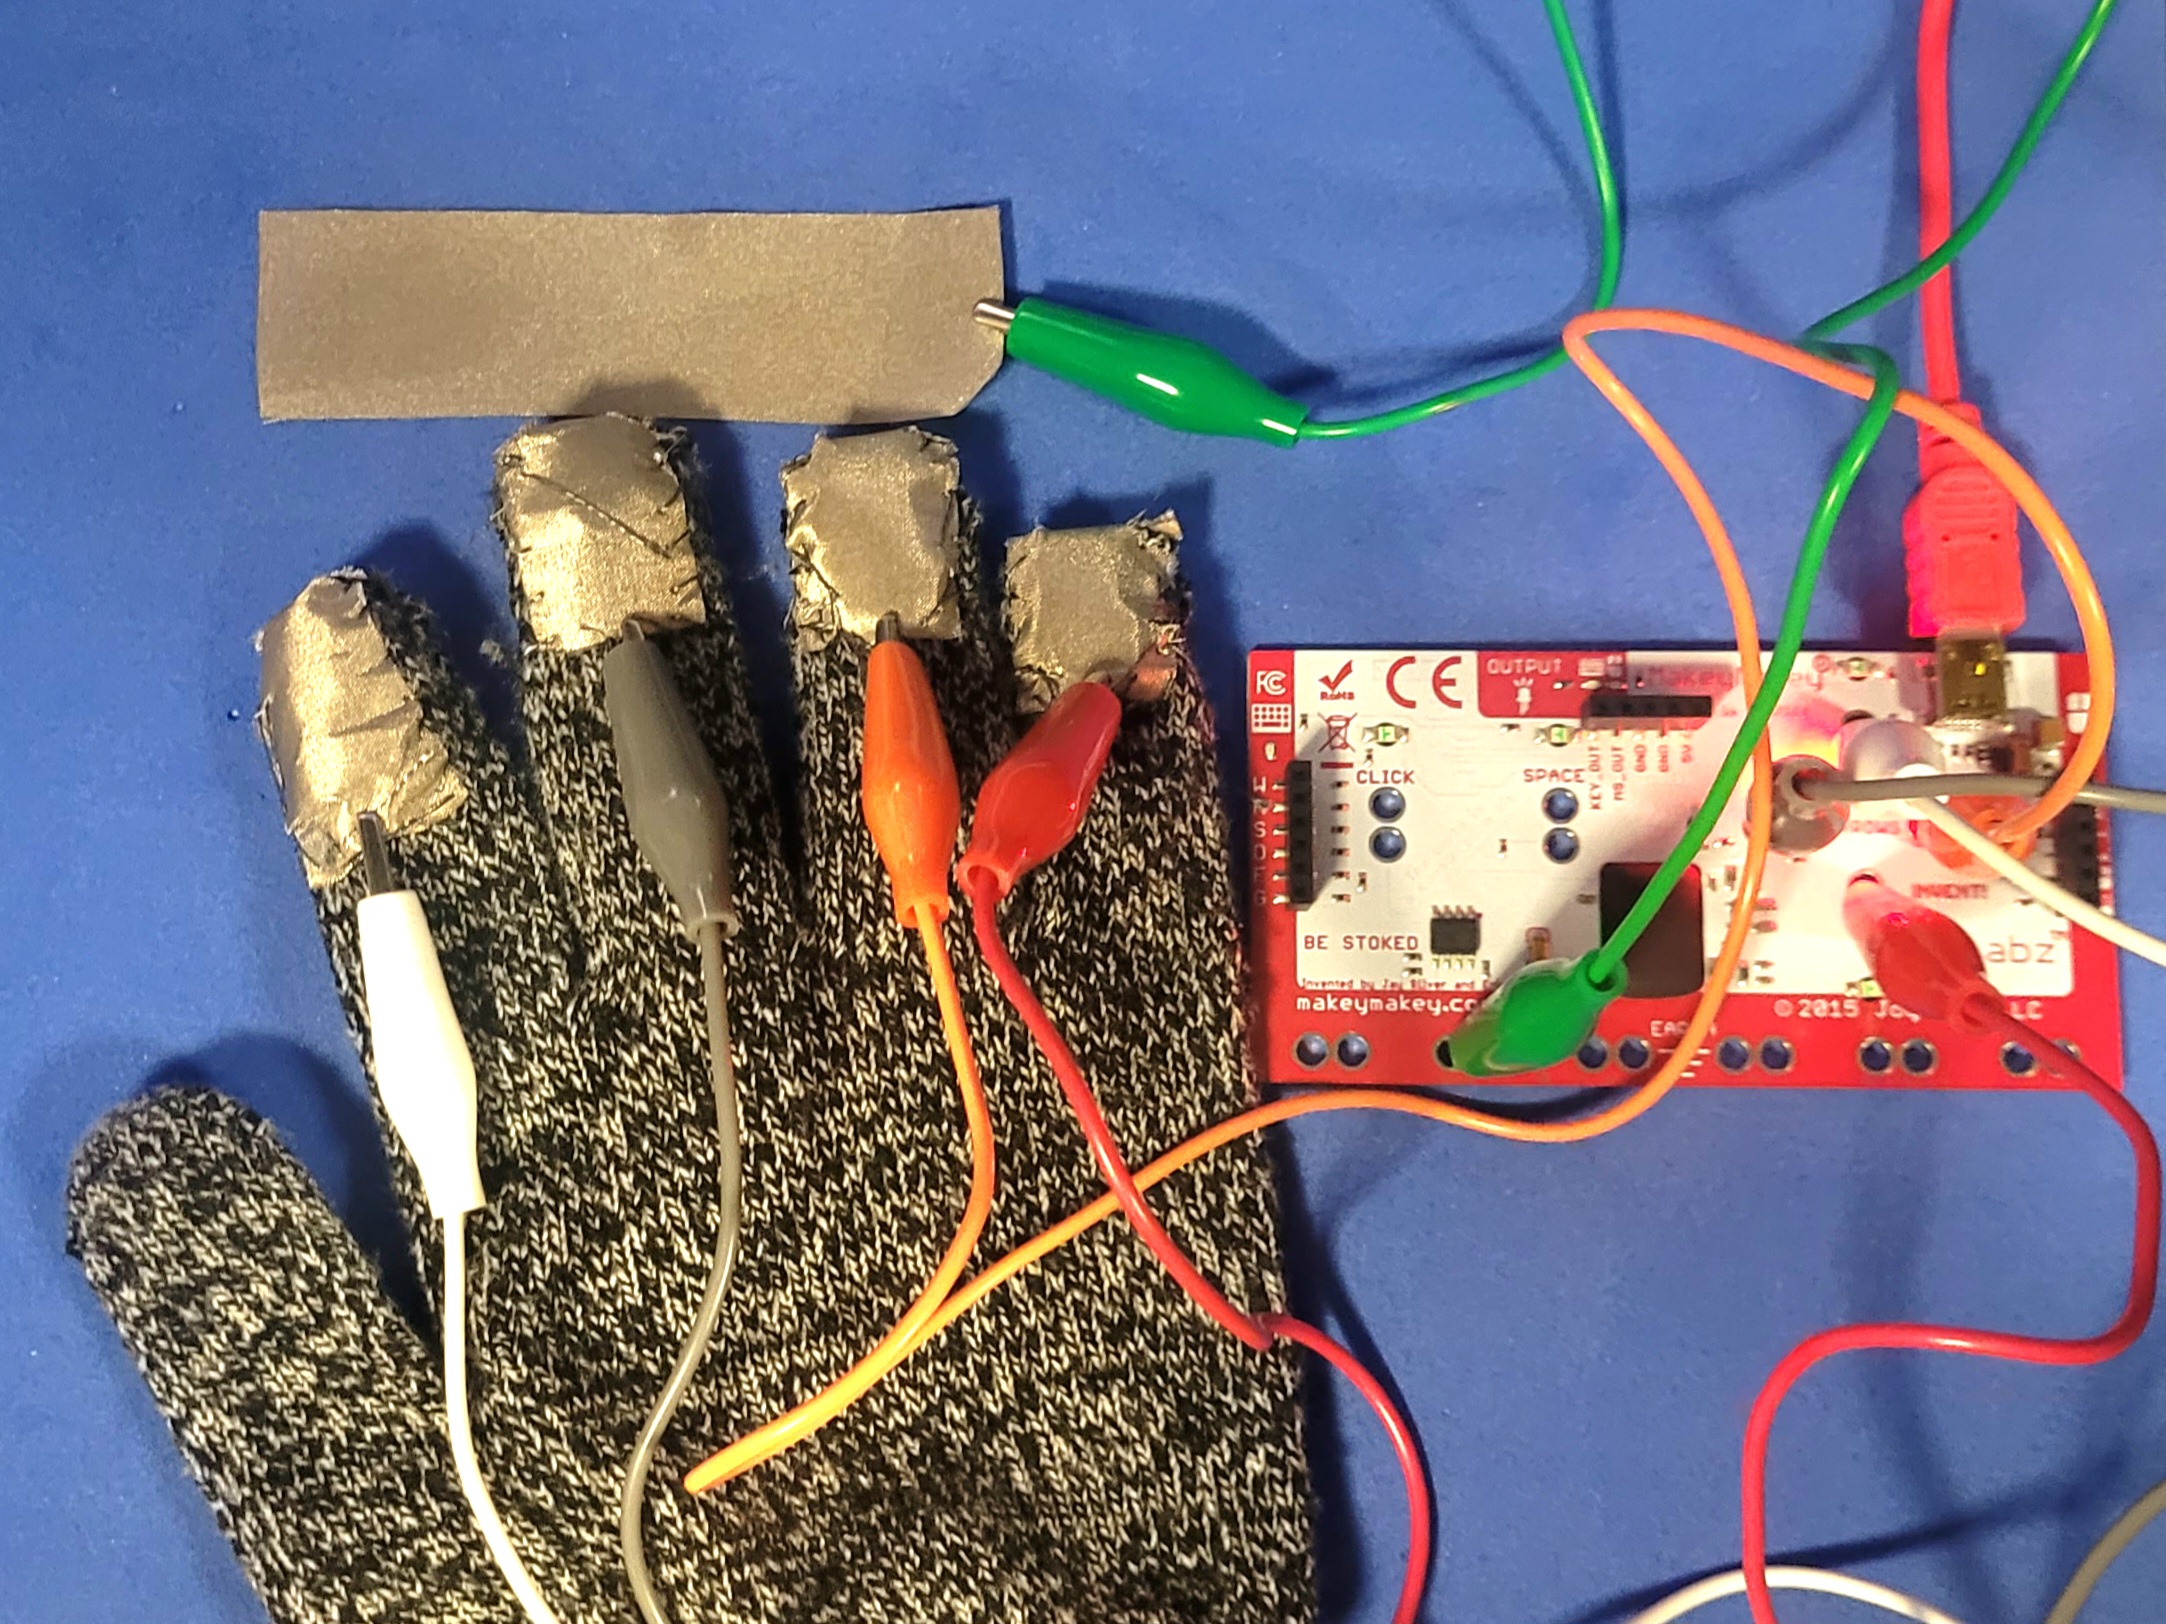
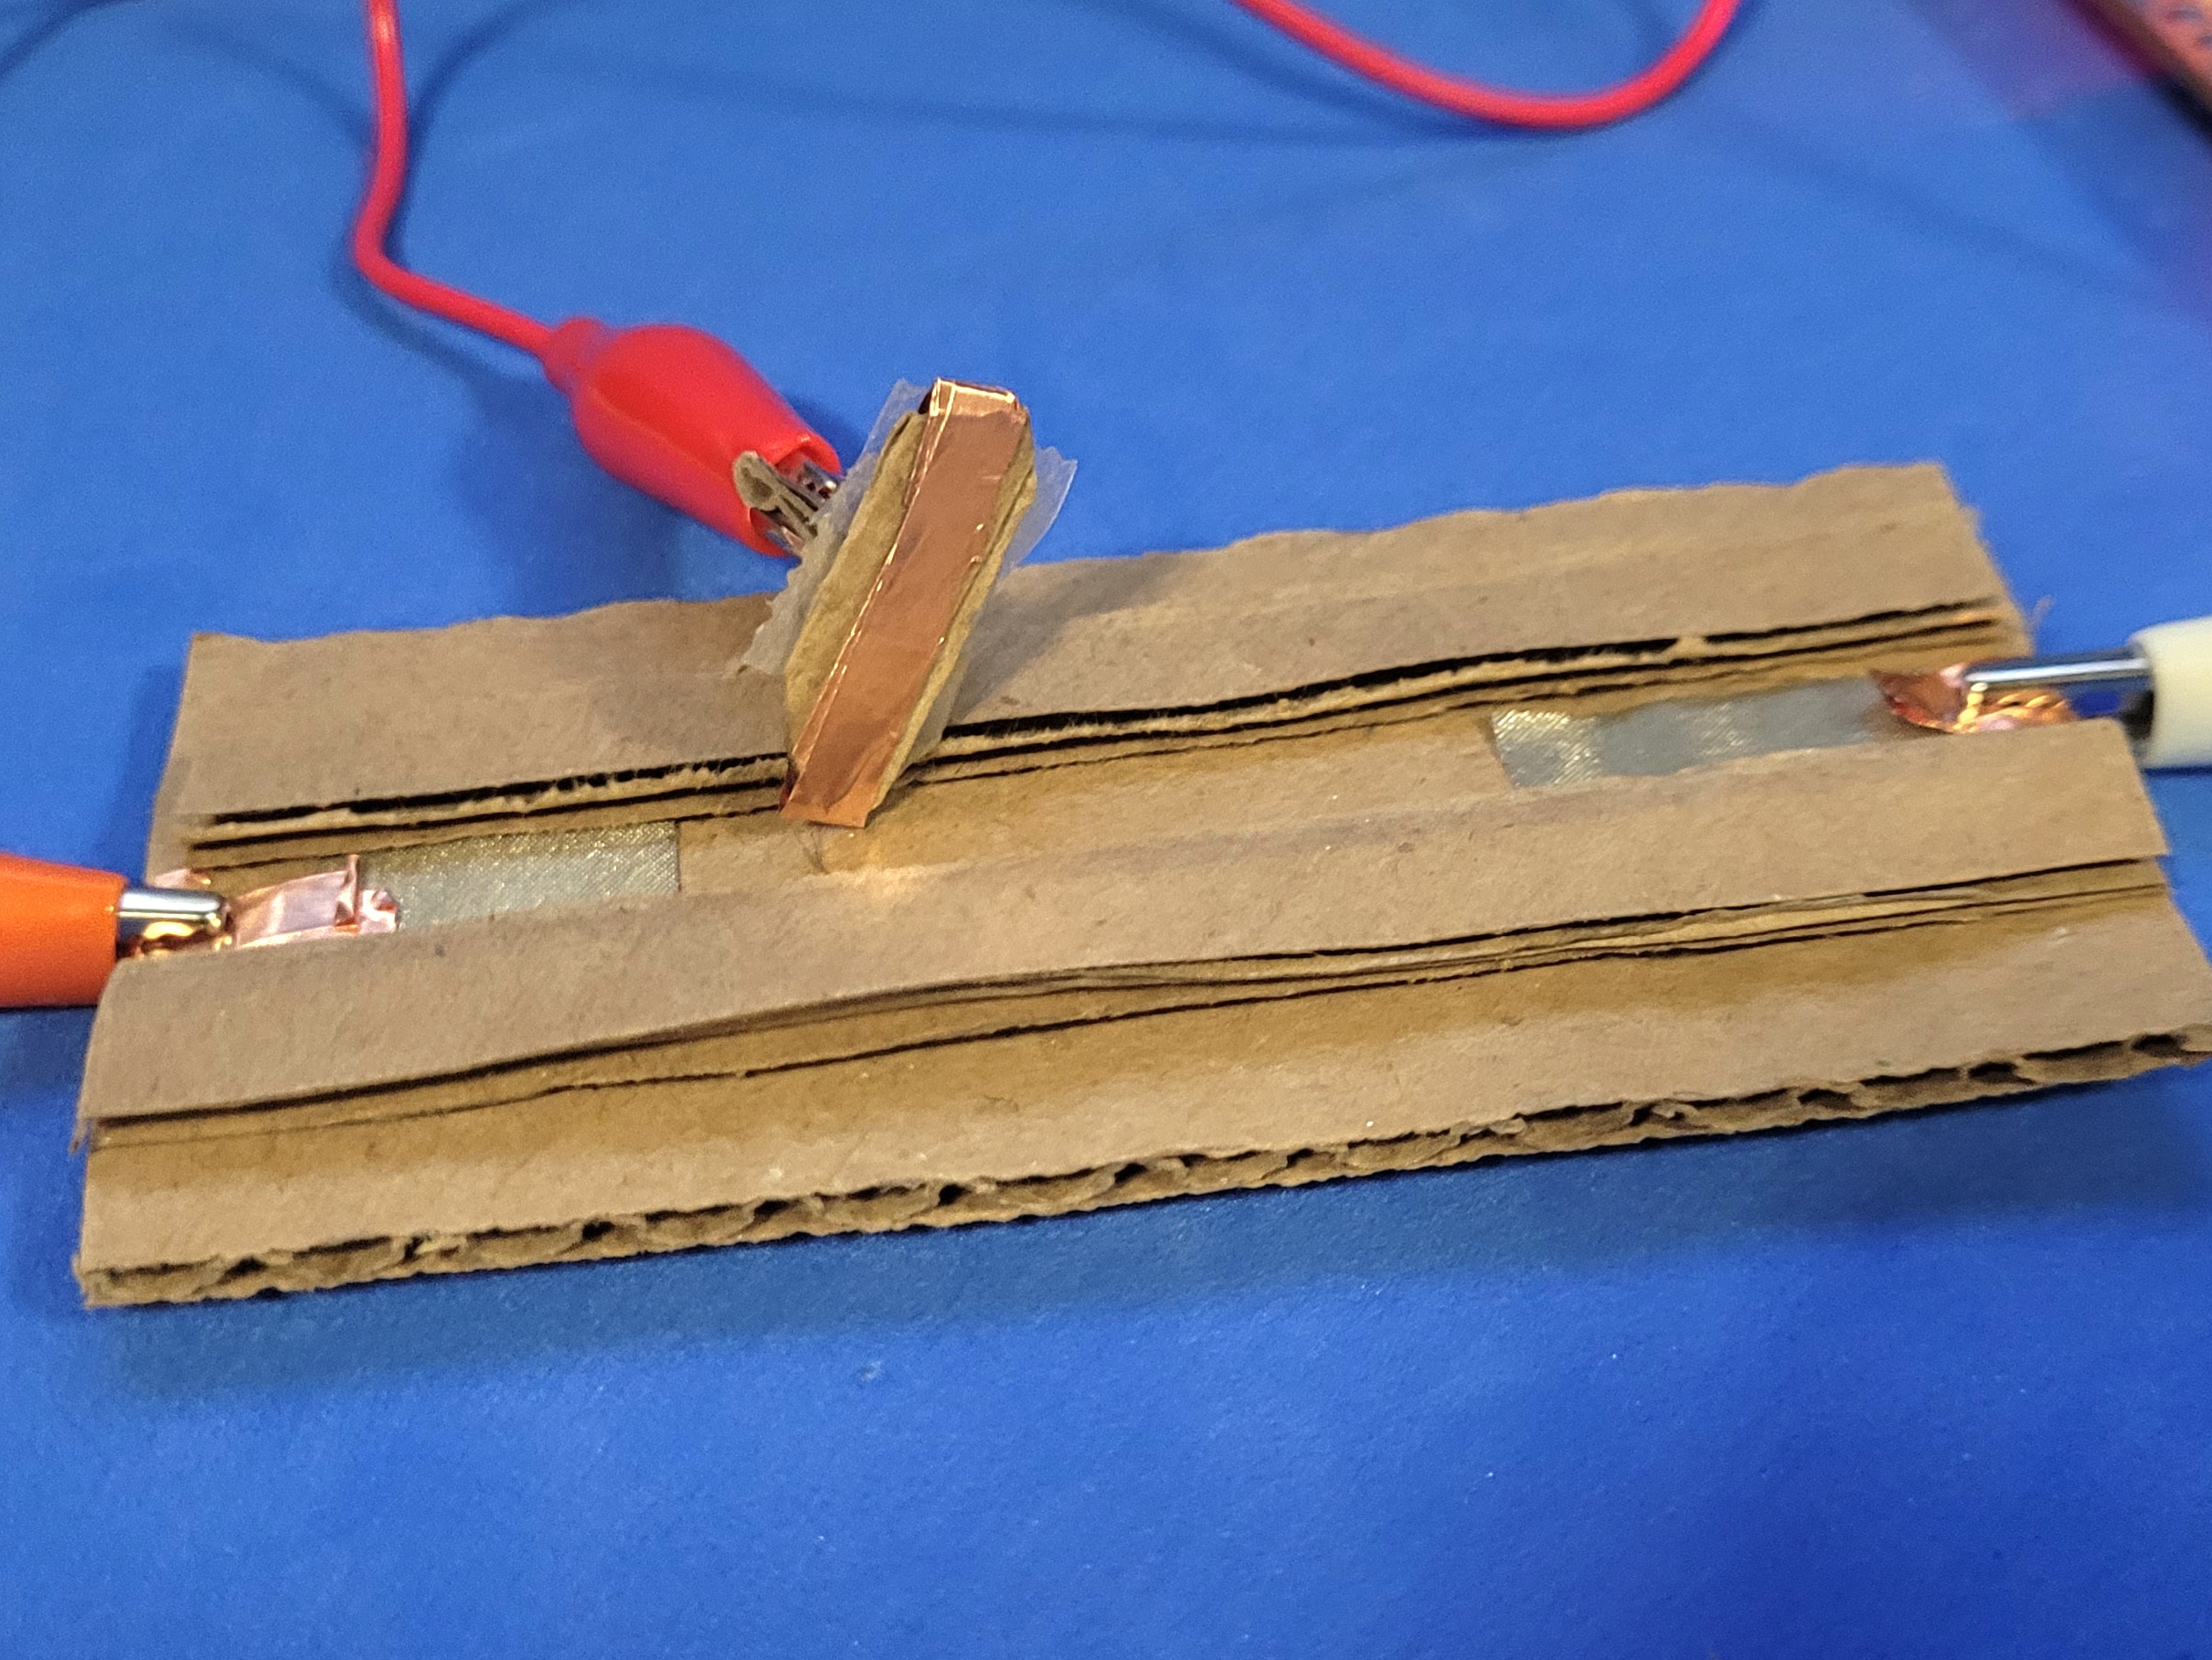
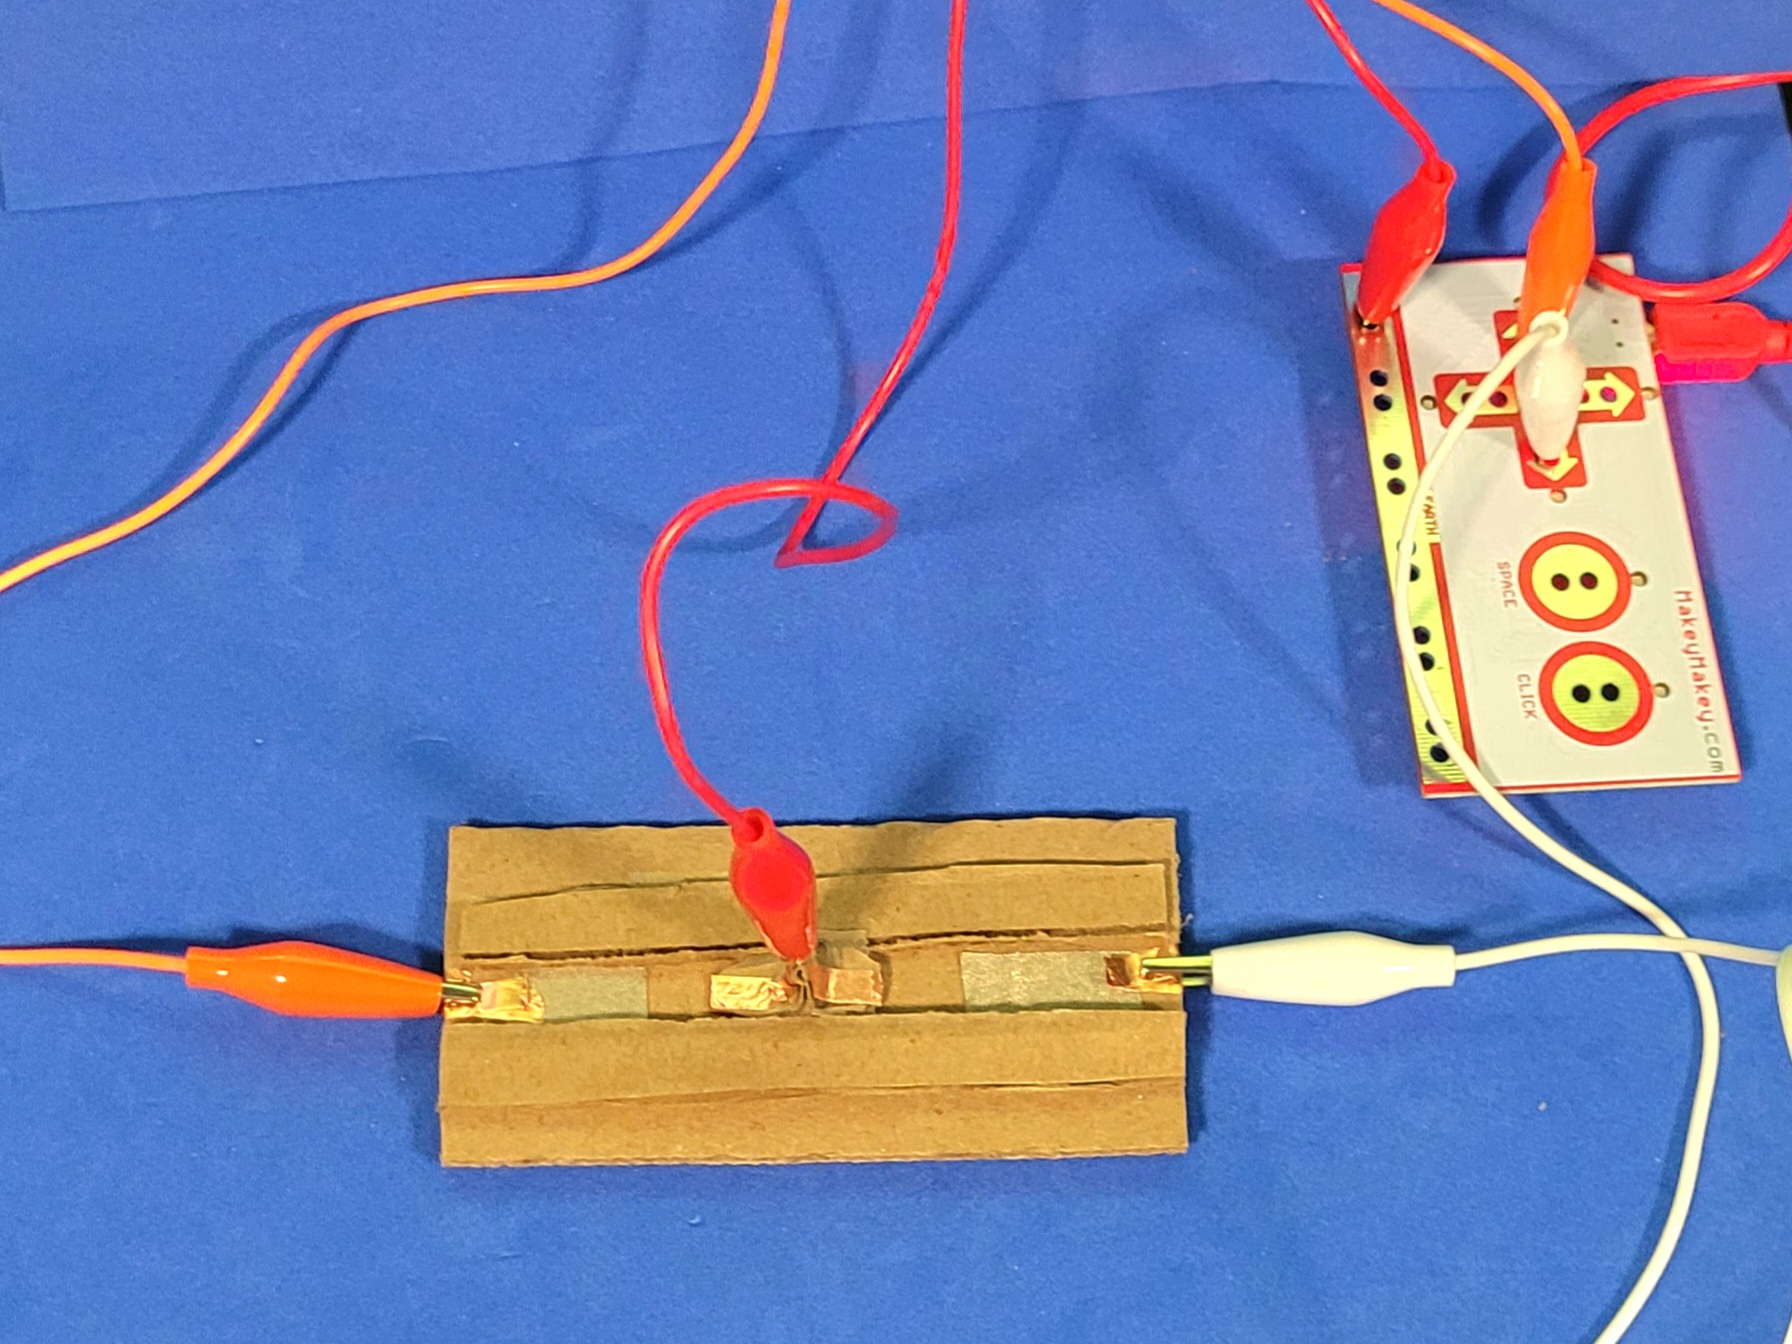
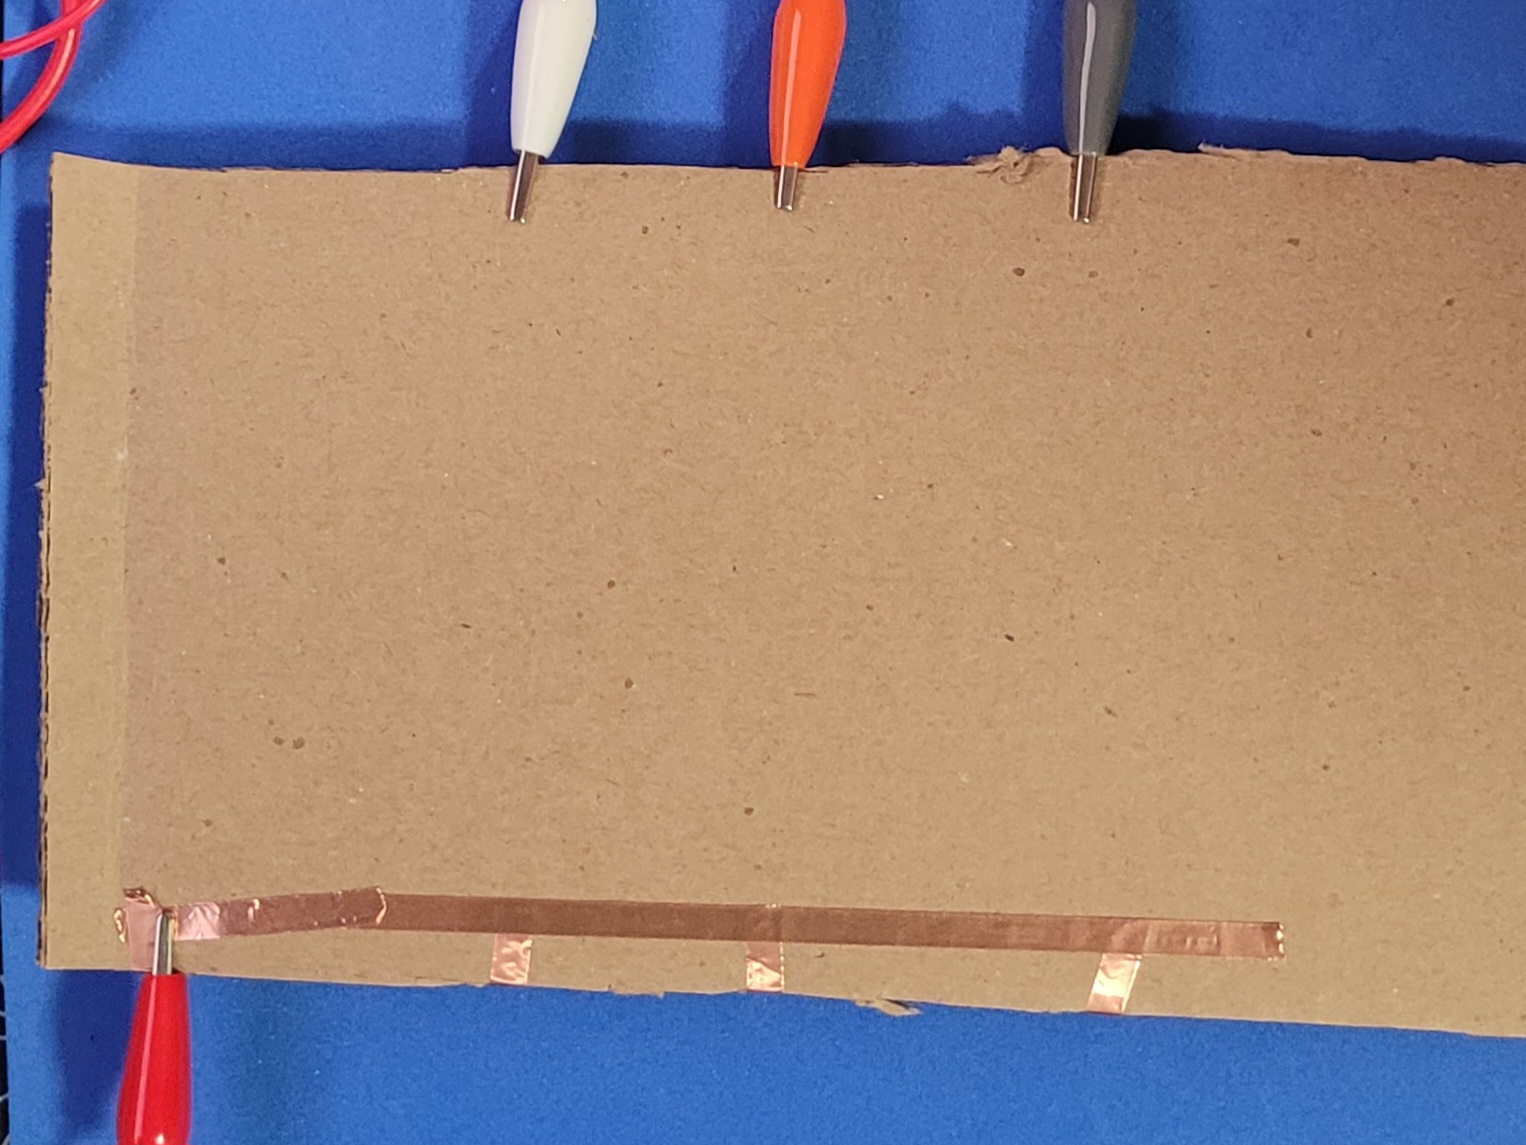
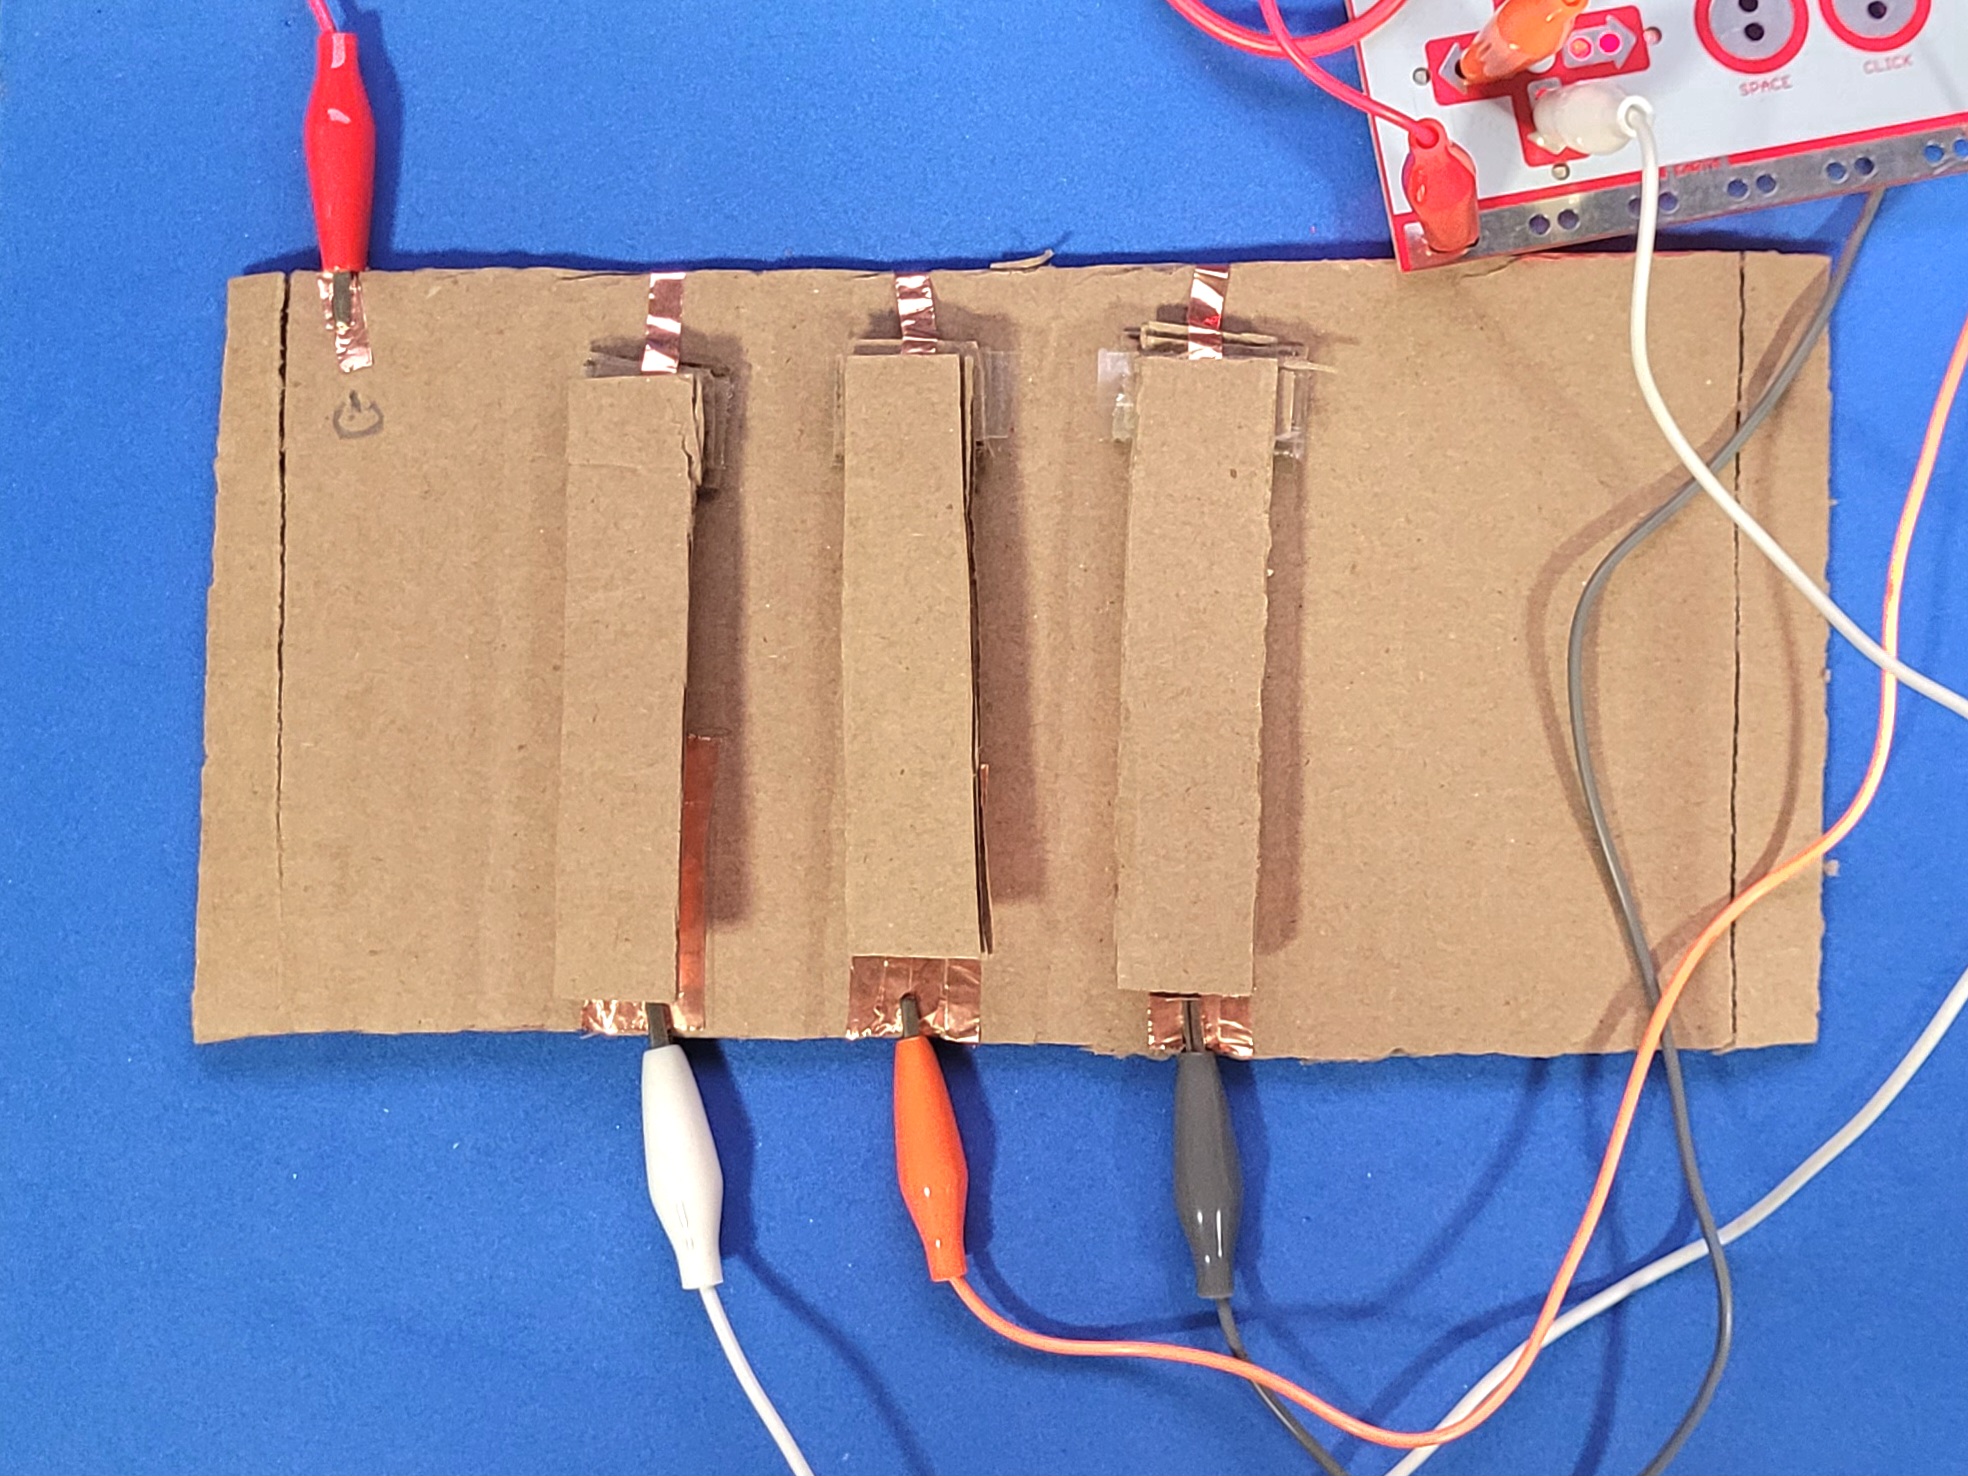
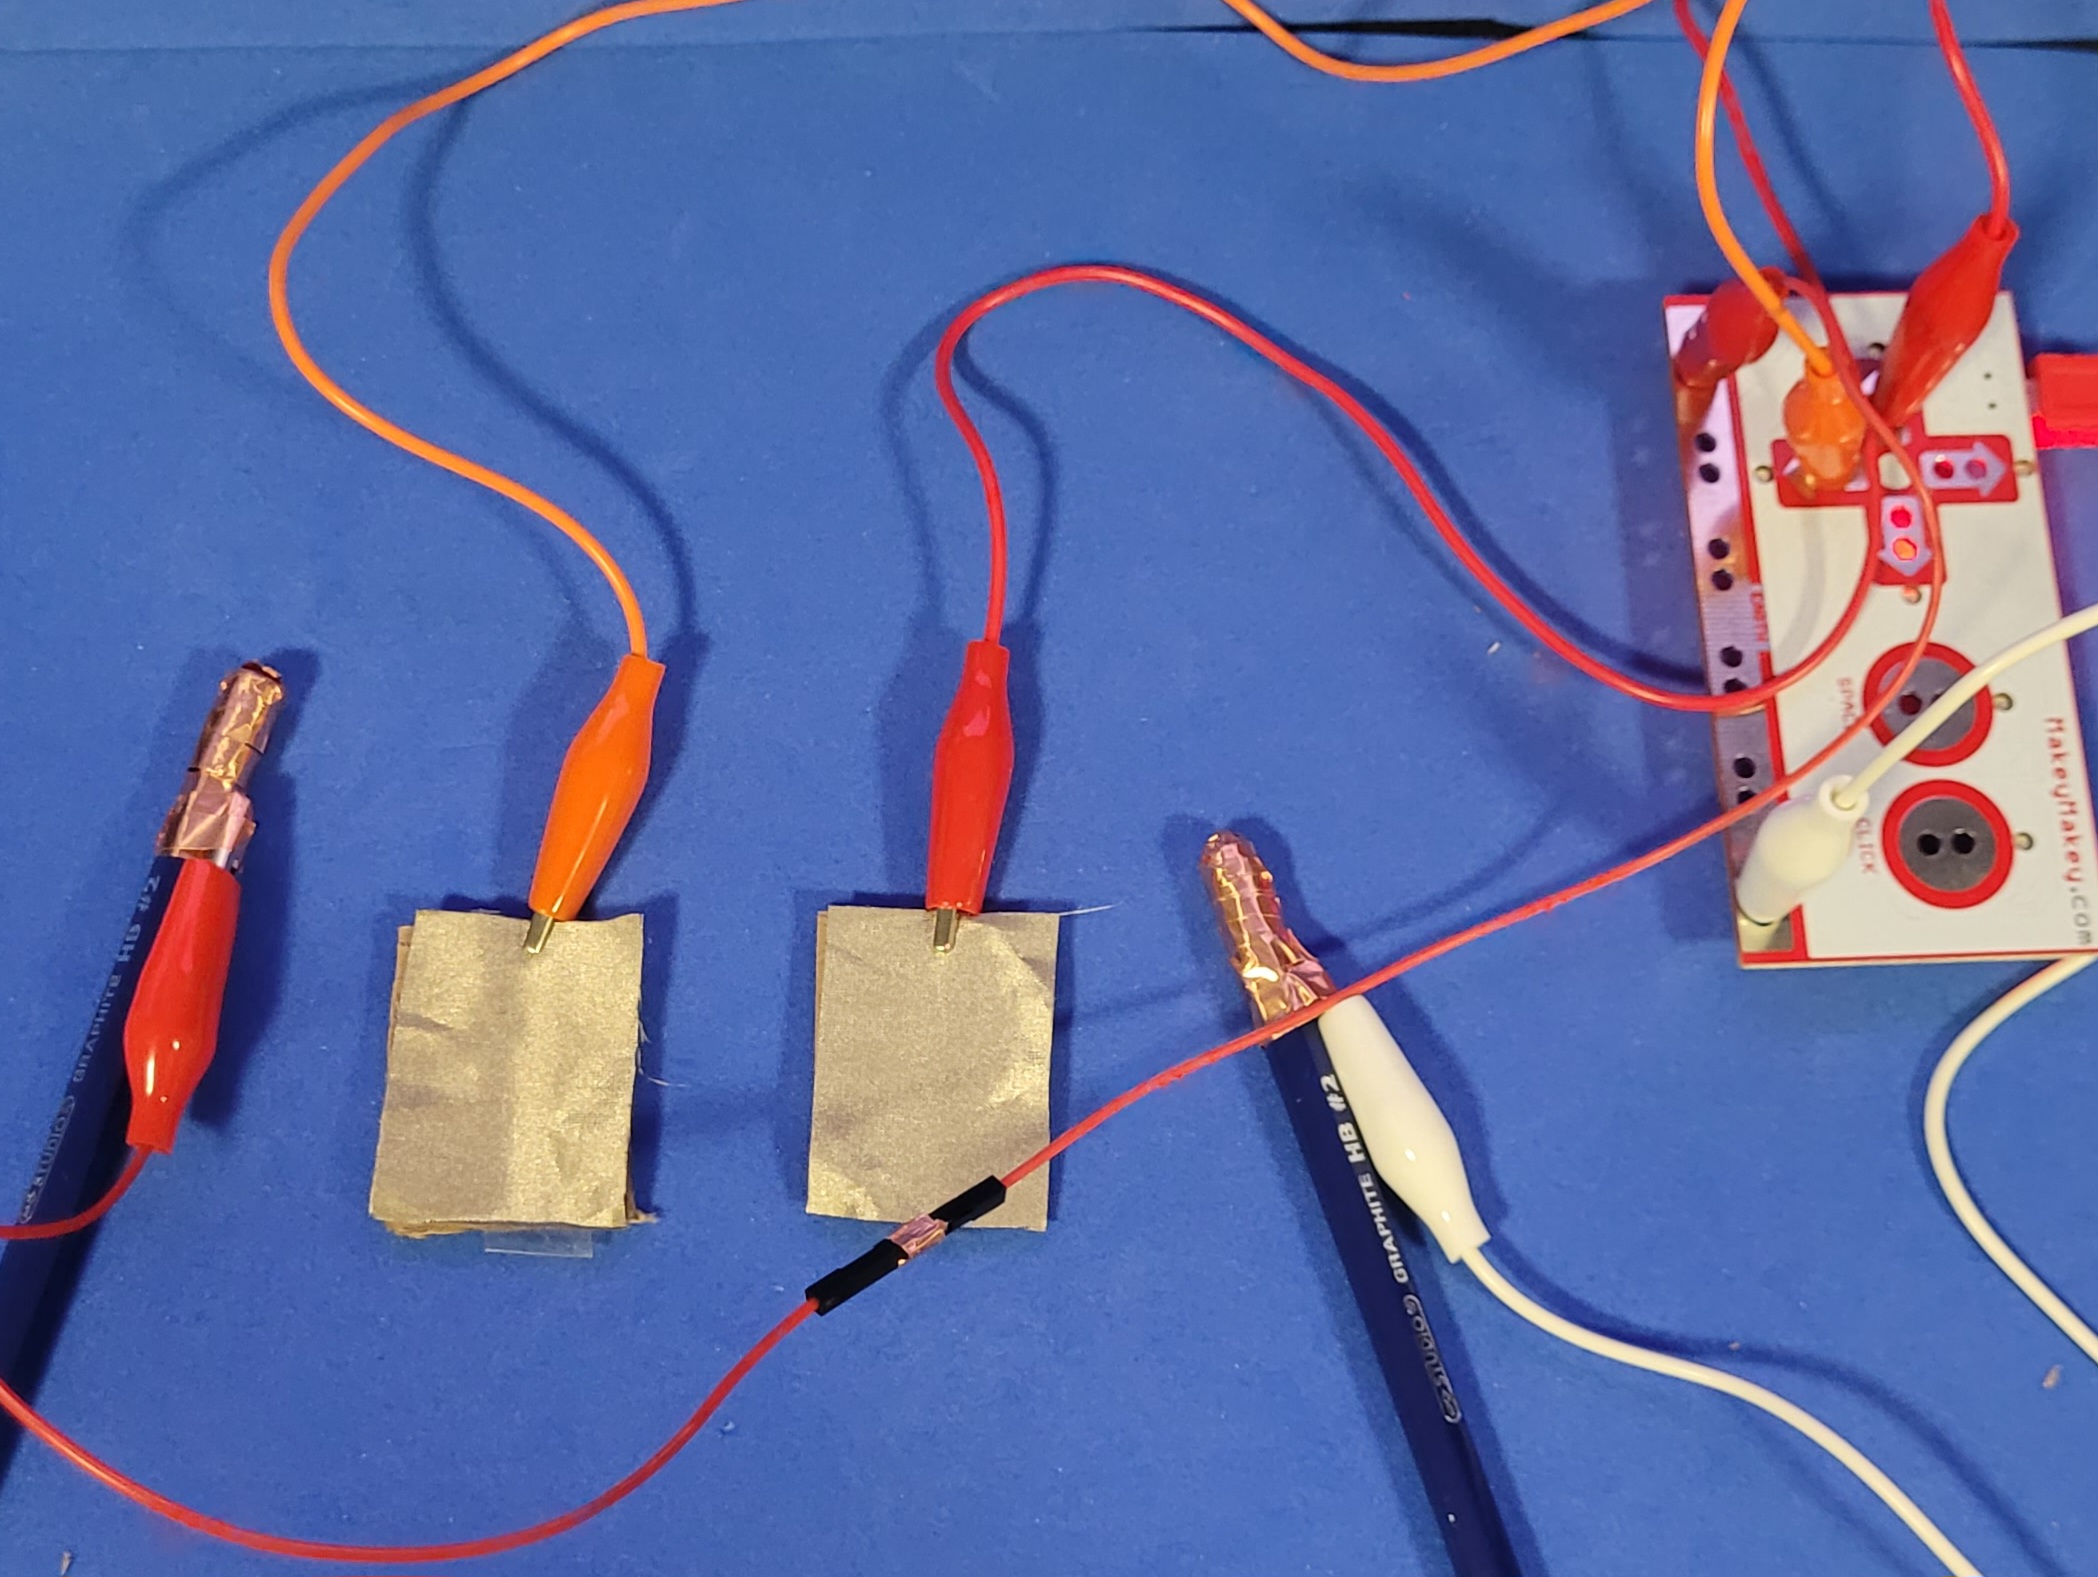
using .p5 code and using the MakeyMakey and similar Arduino or breadboard-based circuits to create interactive visual media.

Activity 1

The first Activity involved the use of .p5 code and user controls using MakeyMakey or keyboard inputs.

Using the p5 code, MakeyMakey keyboard inputs are used to change the colour of a square according to what key is pressed. Using the p5 code, MakeyMakey keyboard inputs are used to change the colour of the background depending on what key is pressed. Using the p5 code, MakeyMakey keyboard inputs are used to change the background image depending on what key is pressed. Using p5 code, an ellipse is controlled with MakeyMakey key inputs, with each directional input changing the colour of the ellipse and leaving a trail with alpha transparency. Using p5 code, multiple ellipse are controlled with MakeyMakey key inputs, with each directional input changing the colour of the ellipse and leaving a trail with alpha transparency. The middle ellipse is given free reign but the parallel ones are restricted to y axis movements only. Using p5 code, a cube is rotated using key inputs from the MakeyMakey Using p5 code, a 3D cone's rotation speed is controlled using key inputs from the MakeyMakey Using p5 code, a camera is moved around a 3D torus inside a boxed environment using key inputs from the MakeyMakey Using p5 code, a 3D model of a duck is viewed in a cube with a sky texture with a camera that is controlled by key inputs from the MakeyMakey. Using p5 code, five rotating tori are viewed using click inputs from a MakeyMakey Using p5 code, a torus is viewed with a camera in a textured environment using key inputs from a MakeyMakey Using p5 code, a model of saturn (comprised of a sphere and two tori) is viewed in a 3D environment (created by a box with a space texture) with a camera controlled by key and click inputs with the MakeyMakey (arrow keys to move, space and click to zoom in and out) Using p5 code, directional key inputs from the MakeyMakey are represented with corresponding text Using p5 code, directional key inputs from the MakeyMakey are represented with corresponding text in a pixelated font and with arrows Using p5 code, Pac-Man is controlled using directional key inputs on the MakeyMakey. Using p5 code, Pac-Man is controlled using directional key inputs on the MakeyMakey. The illusion of a single object is achieved using a series of 4 images. Using p5 code, Pac-Man is controlled using directional key inputs on the MakeyMakey. He now is able to be controlled more smoothly using the KeyPressed input instead of KeyClicked meaning you can hold down the input Using p5 code, Pac-Man is controlled using directional key inputs on the MakeyMakey. He is not animated as he is controlled, cycling through an open and close animation. Using p5 code, Pac-Man is controlled in a 3D environment using directional key inputs on the MakeyMakey.

Activity 2

A photo of a simple LED breadboard circuit powered by the MakeyMakey A video demo showcases the simple LED breadboard + MakeyMakey circuit in action. It functions by pressing a button to complete the circuit. A photo of a simple two key button circuit using a breadboard and MakeyMakey A video demo showcasing the two buttons on the breadboard controlling the mouse click and space key which are tied to a zoom in and zoom out function in p5 code. A photo of an iteration of the button circuit, now with full directional inputs achieved through a copper tape circuit. A video demo showcasing the movement control and zoom controls used with p5 code A photo of an alligator plush connected with copper tape to the MakeyMakey A video demo showcasing the simple alligator circuit with p5 code. When the mouth is closed, the word Chomp! is flashed on the screen with an alligator emoji. An iteration on the alligator circuit, now with two additional interactive portions. On its sides and tail. A video showcases the iterated circuit that now responds to three points of contact, with the mouth, sides, and tail, In the p5 it also has corresponding text. Chomp! for the mouth, Squeeze! for the sides, and Wag! for the tail A photo of circuit that uses a conductive glove made for project 2 but with the inputs reversed, each finger corrosponds to a key input on the MakeyMakey while the conductive fabric acts as the ground. A video demo showcasing how each finger on the glove is tied to a key press that changes the background image in p5 A photo of a created cardboard slider. Both sides correspond to different keys that will function as an on and off state for the circuit. The slider part acts as the ground to the MakeyMakey. A photo of a created cardboard slider. Both sides correspond to different keys that will function as an on and off state for the circuit. The slider part acts as the ground to the MakeyMakey. A photo showcasing the unattached created cardboard circuit emulating that of a piano. the keys will connect the ground and key when pressed. A photo showcasing the bottom of the circuit, showing the connects to to the MakeyMakey using copper tape A photo showcasing the created cardboard circuit emulating that of a piano. the keys will connect the ground and key when pressed. A photo showcasing the unattached created cardboard circuit emulating that of a piano. the keys will connect the ground and key when pressed. A photo displaying a demo of a drum type circuit with the pencils acting as the ground to the two key pieces of conductive fabric that correspond to key presses on the MakeyMakey A closeup photo of one of the pencils that act as the drumsticks that are grounds to the makeymakey An iteration on the drum circuit, now with more keys to press.

Project 3


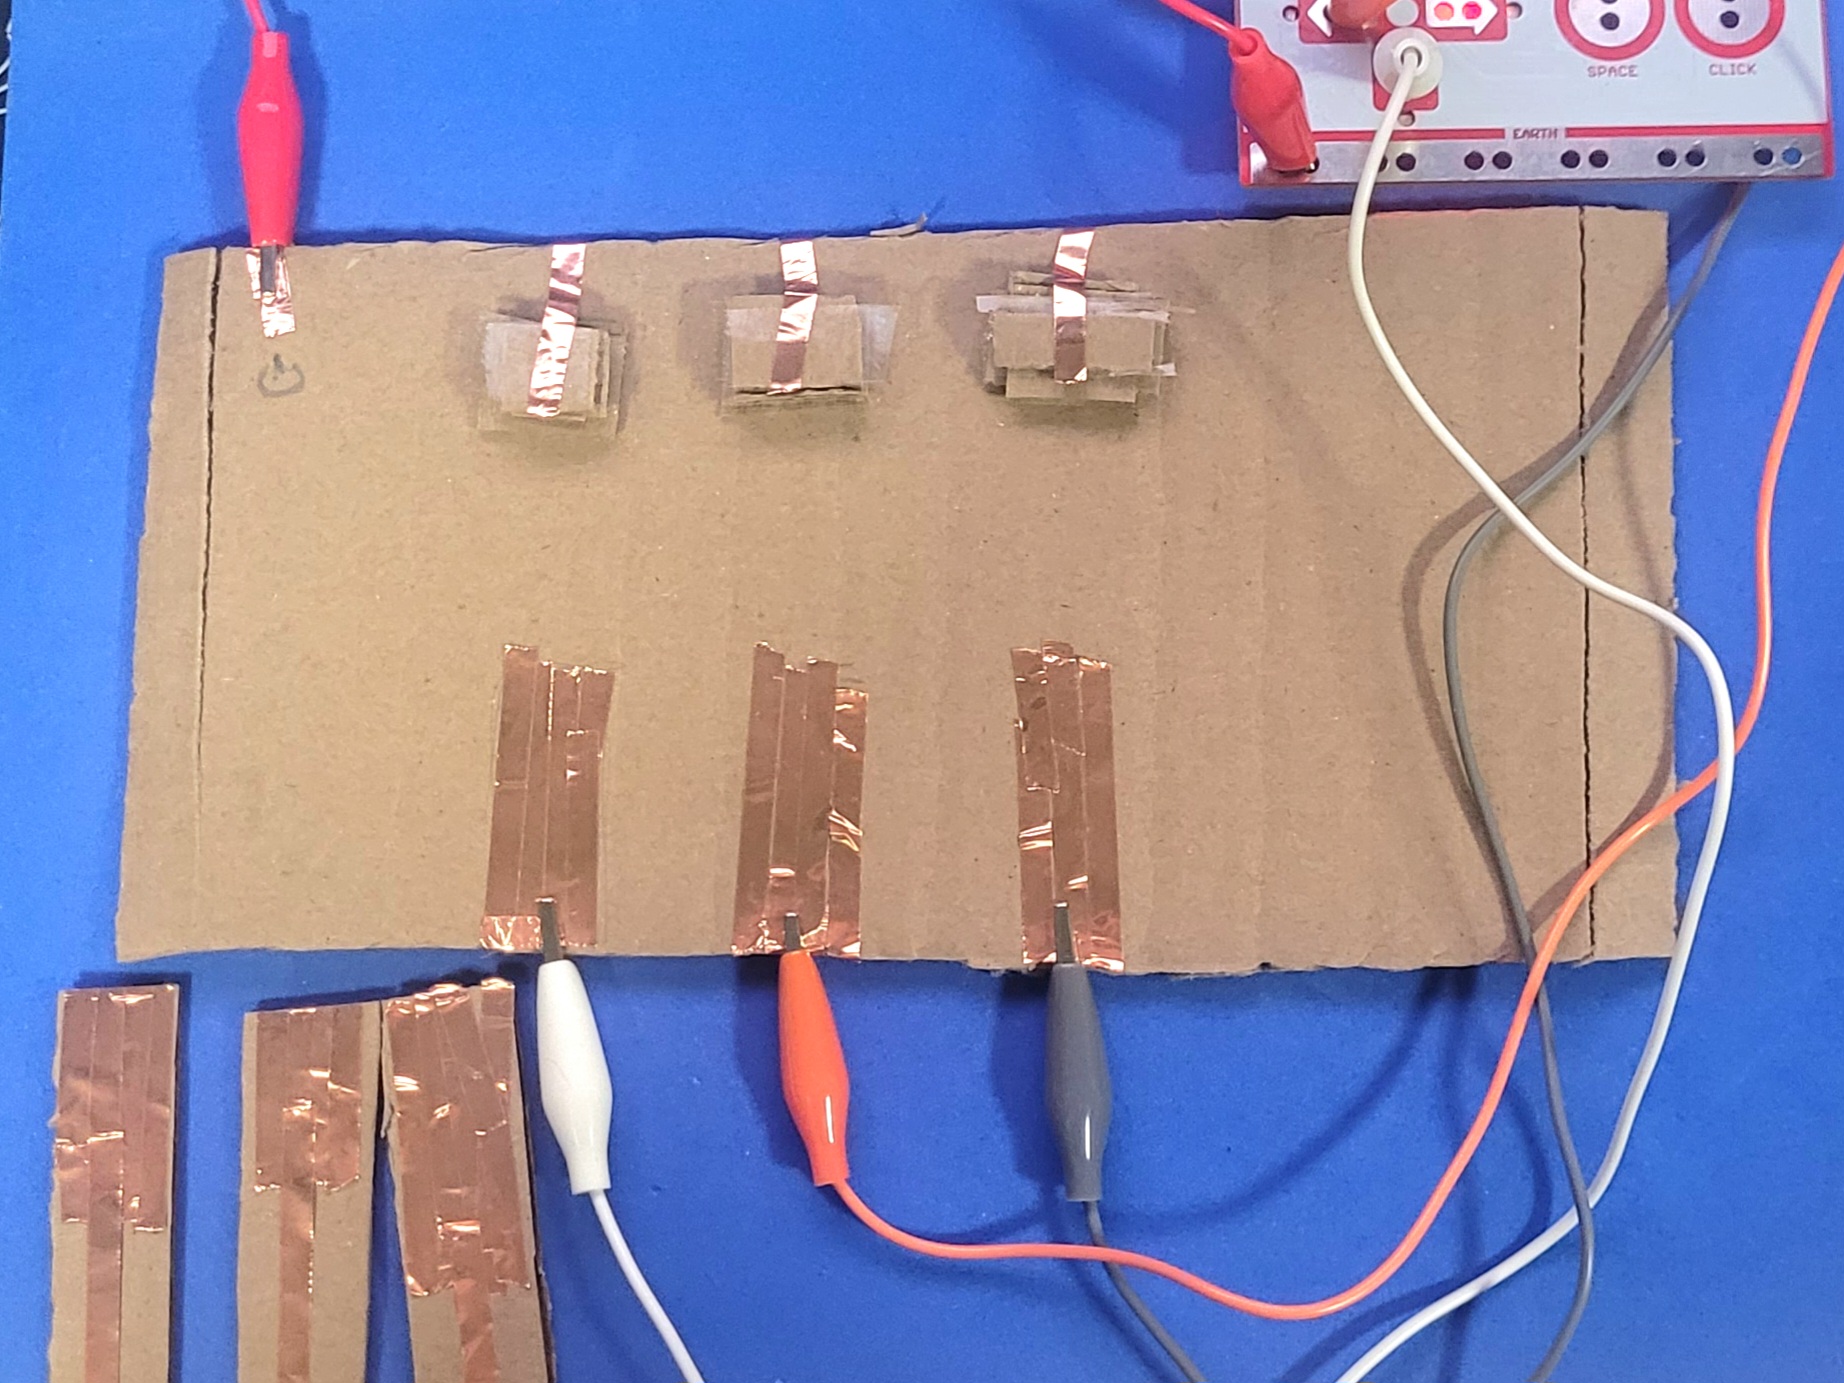
Final Project 3 Design

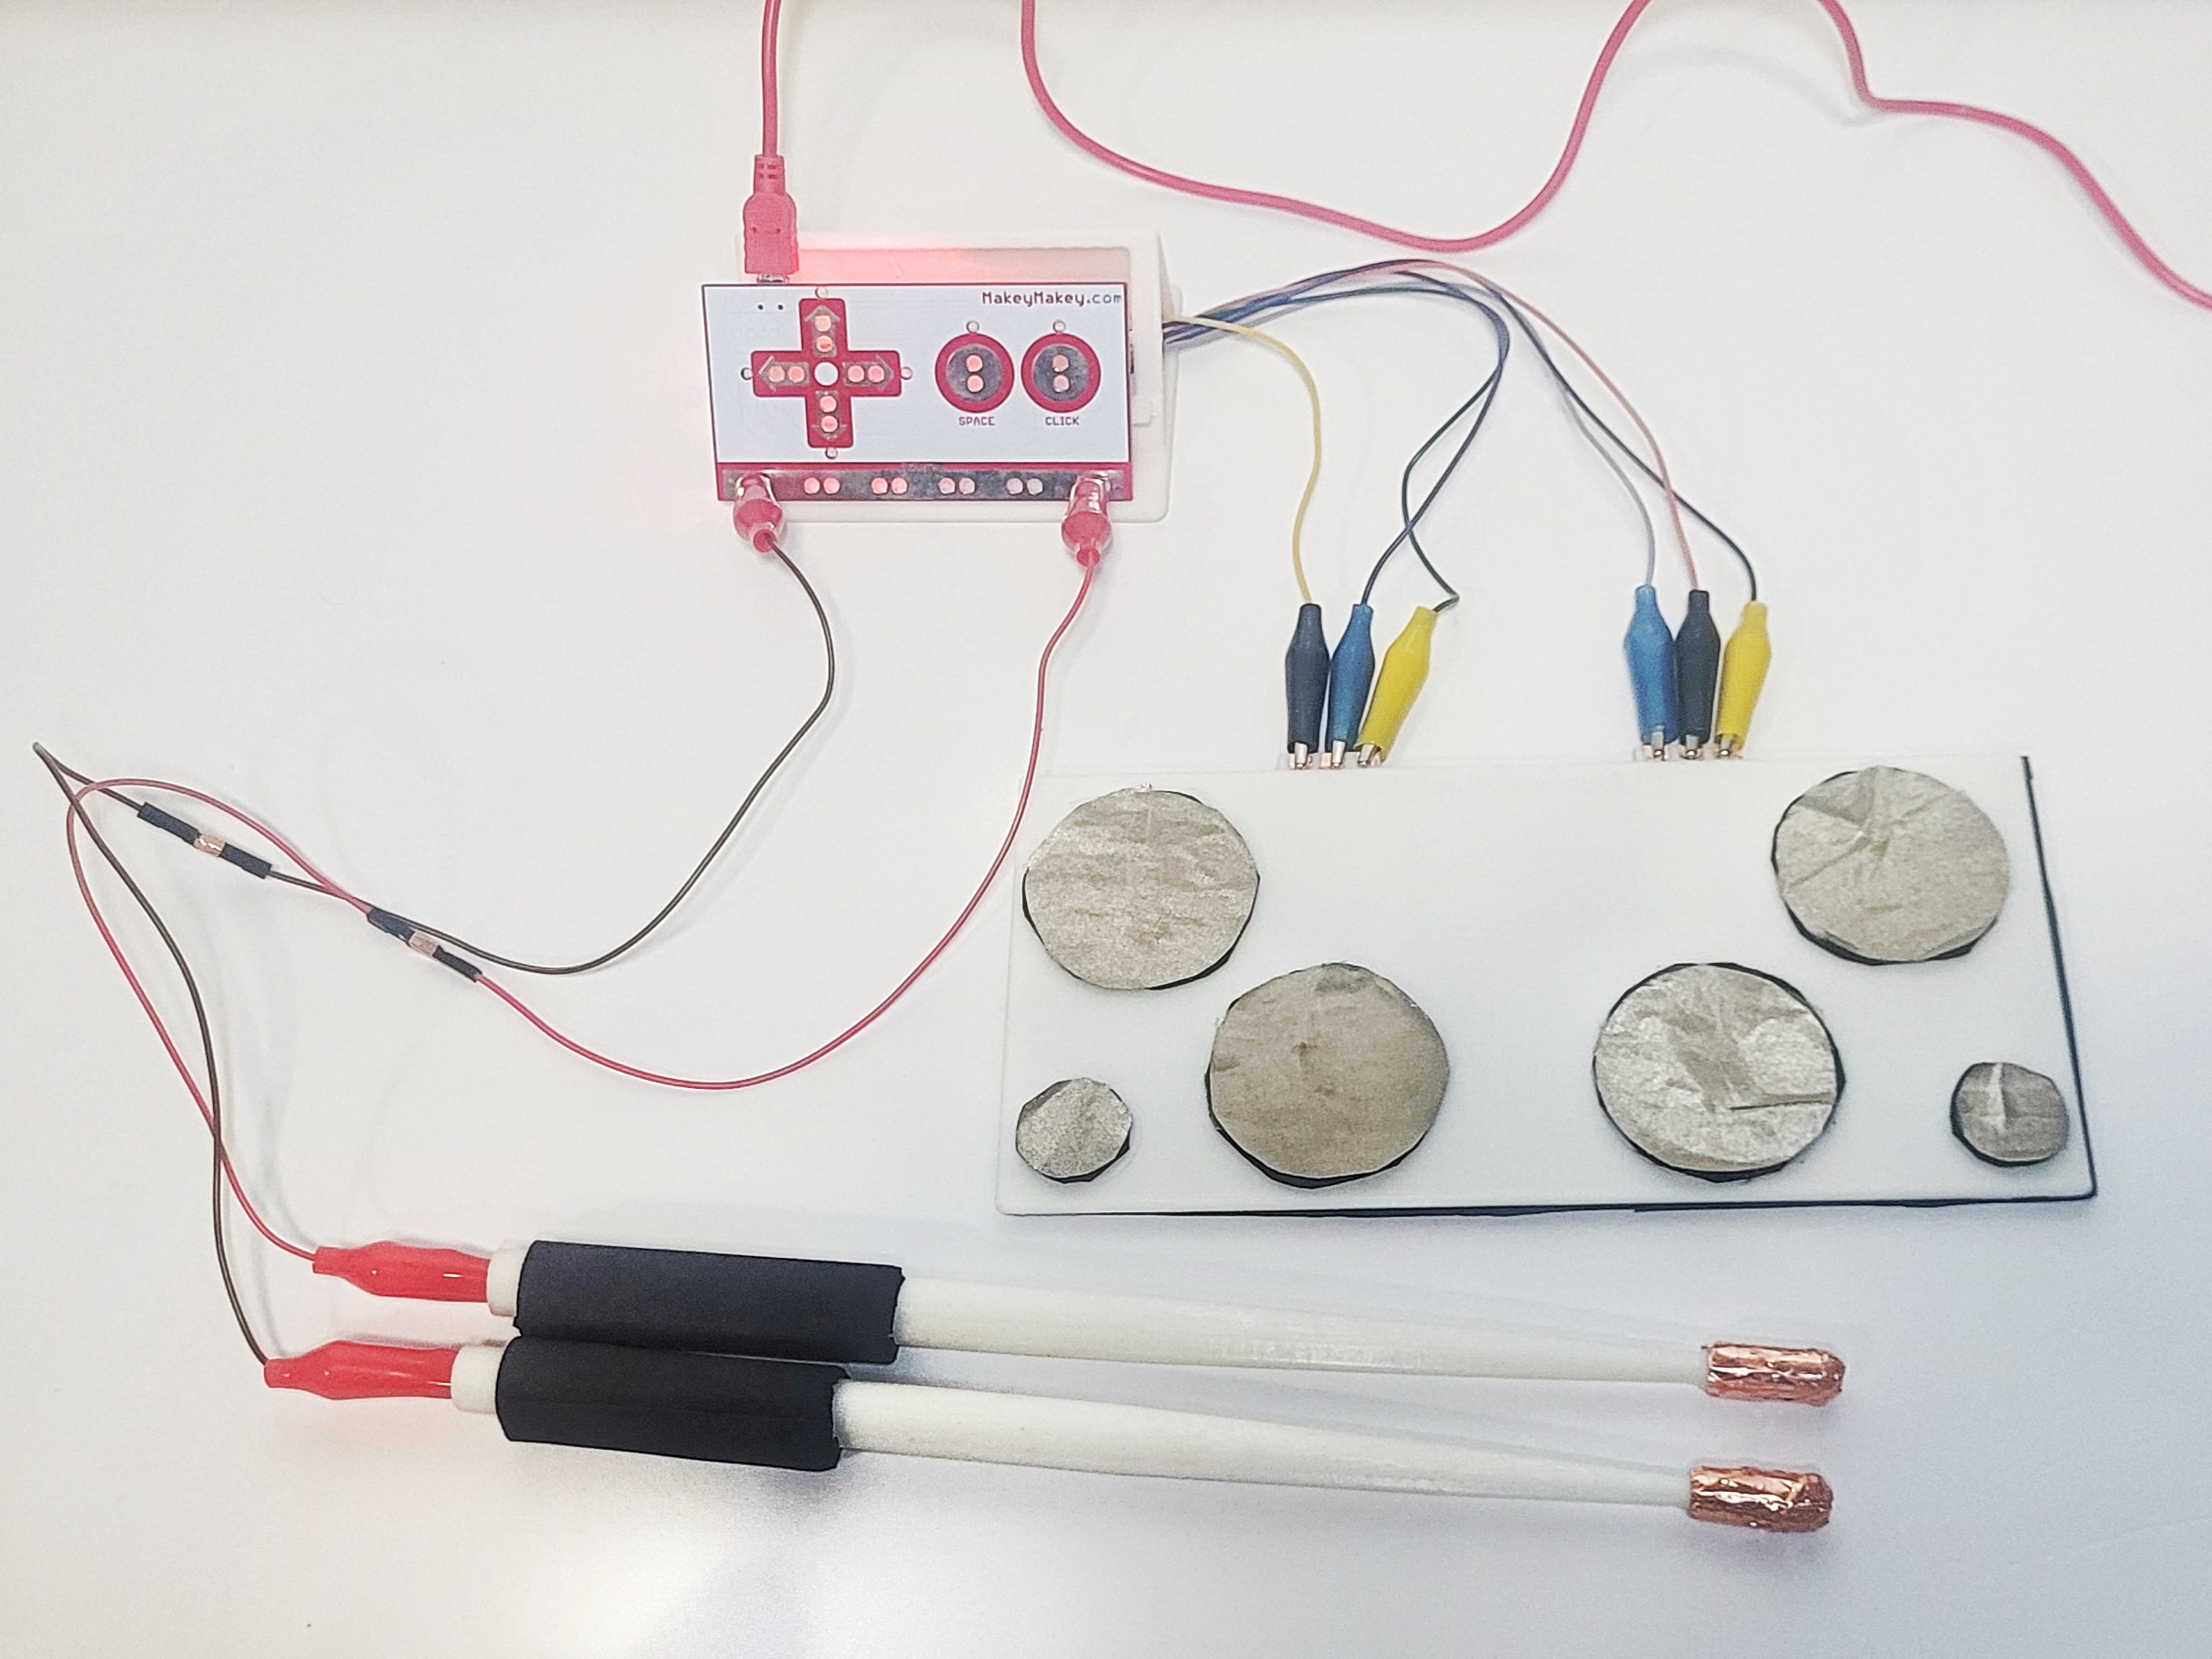
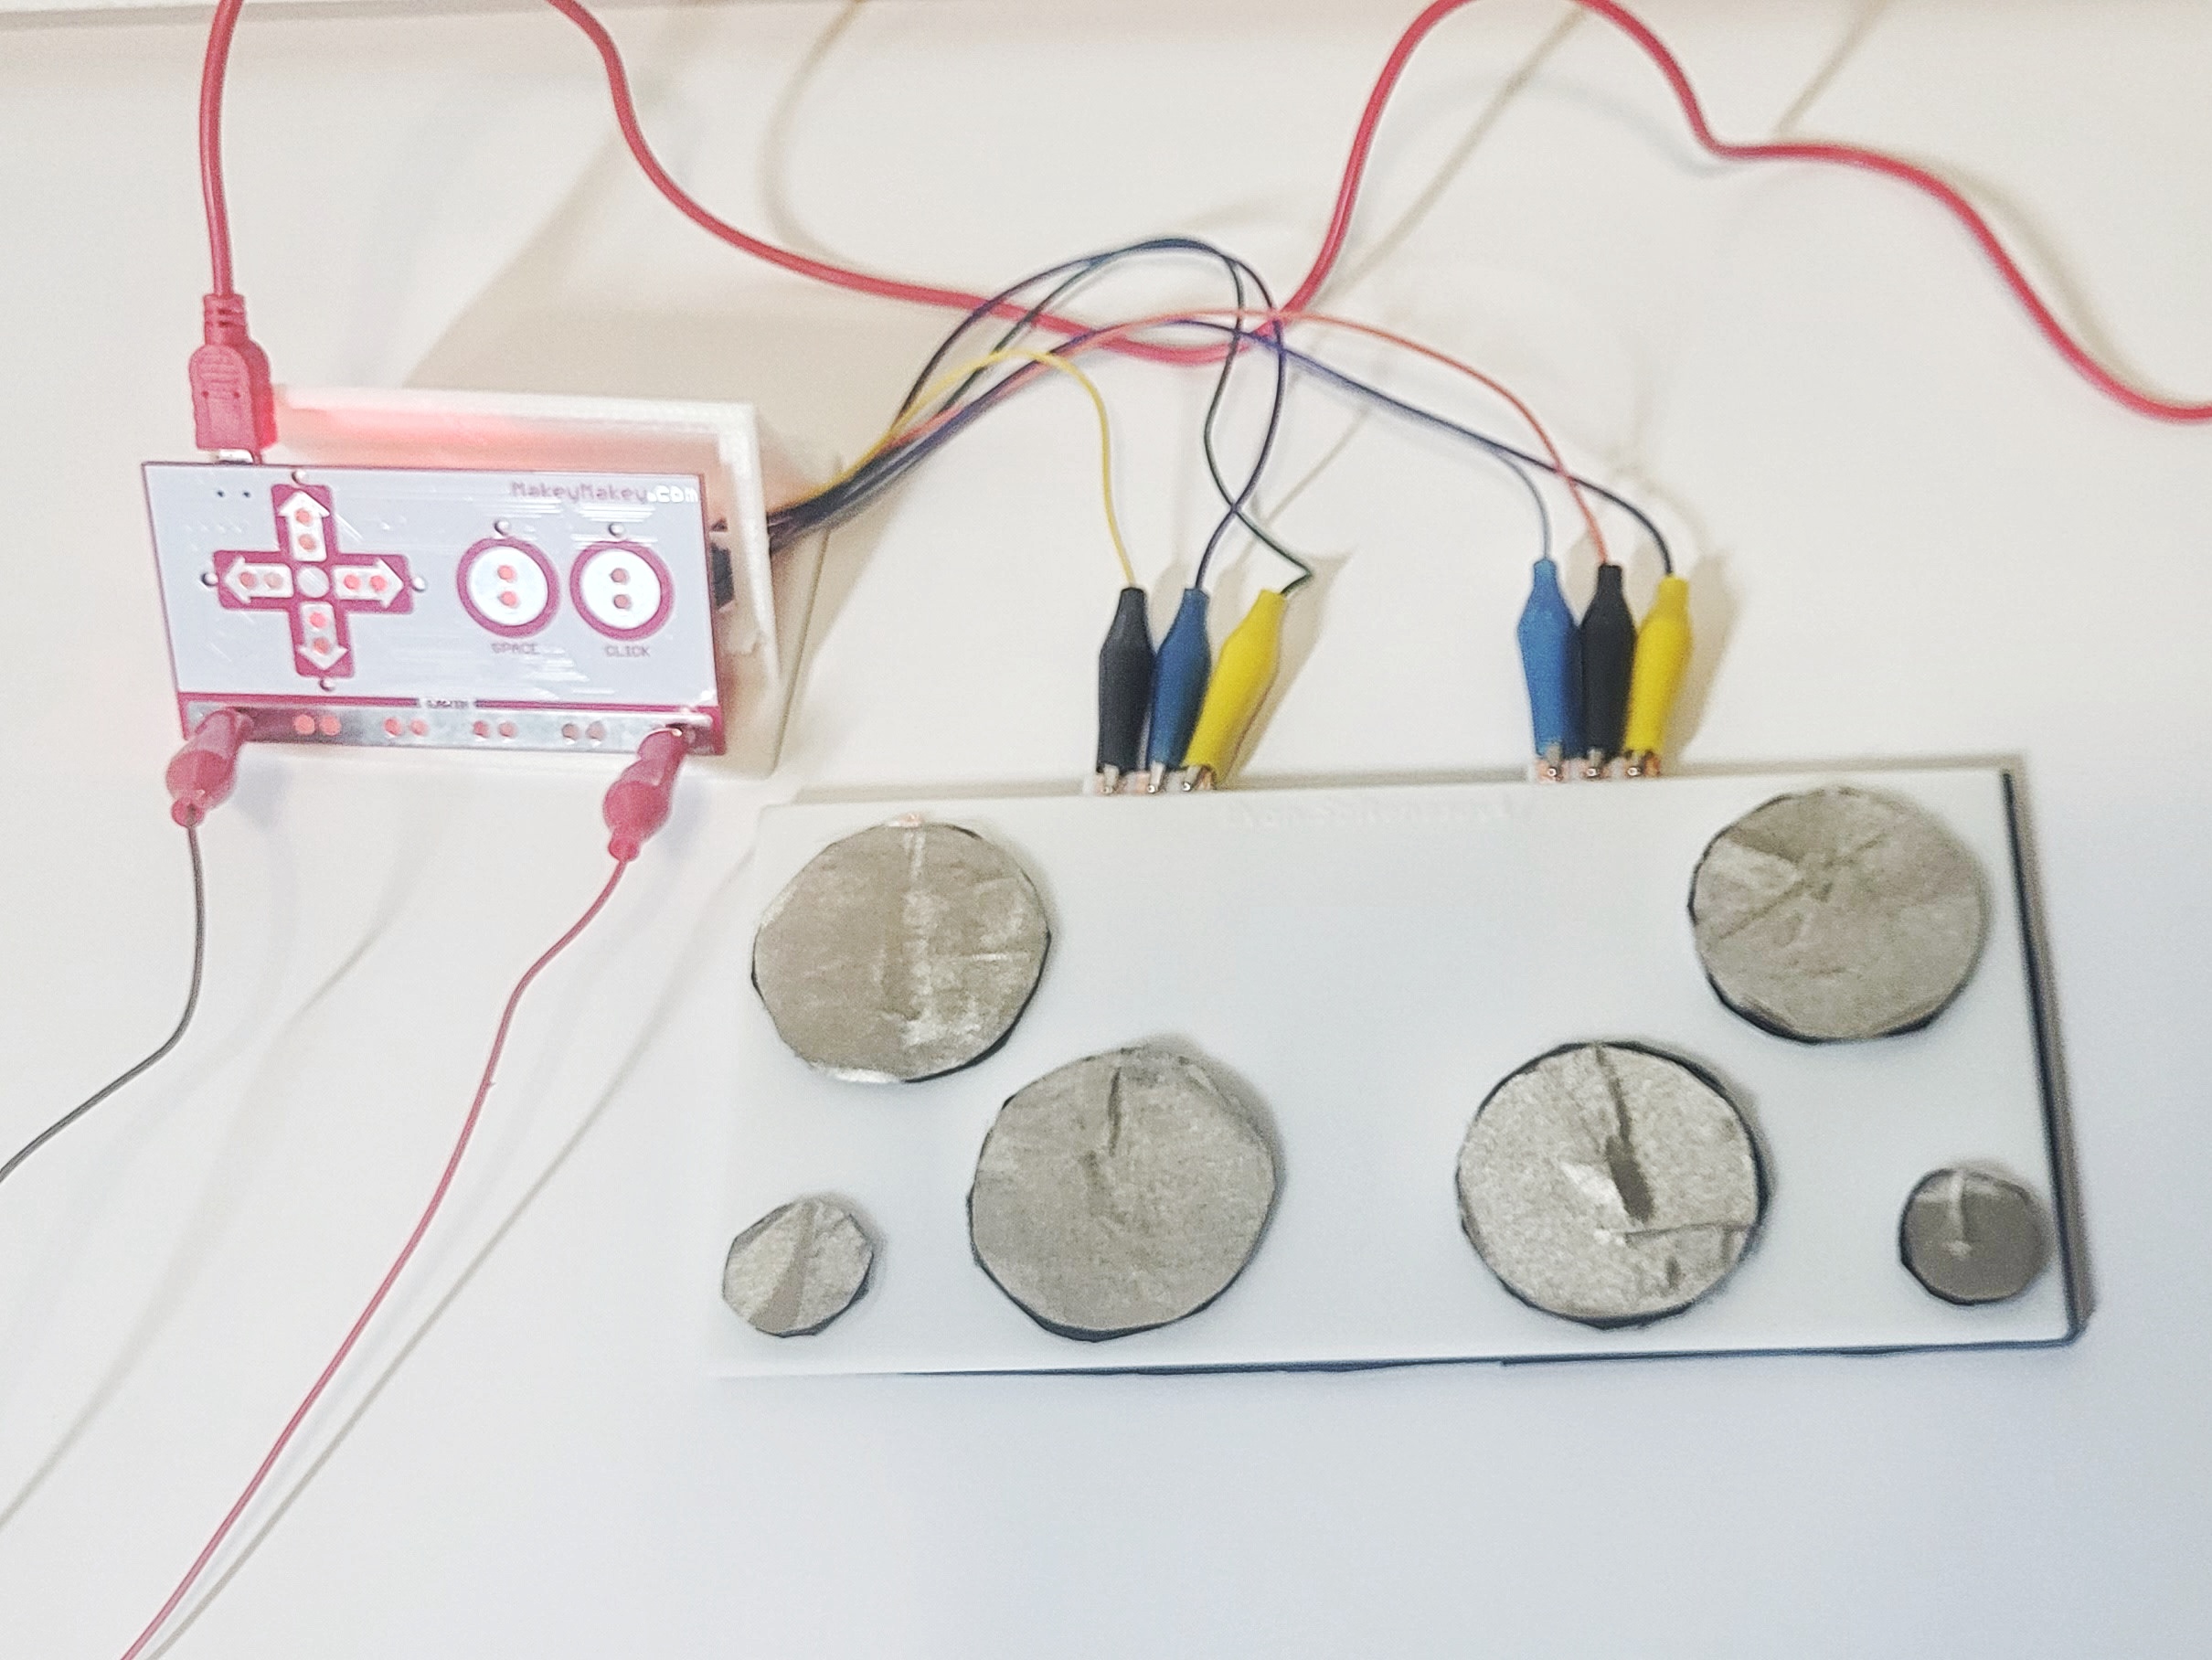
Combining learning from my time in the program a fun multi-sensory experience is created with motion graphics, audio, Protopie, a 3D print, and circuit. The final Digital Drumkit created is an accessible easy to use piece of physical and digital technology that can be used even by children. It displays very overtly the relationship between the senses and creates visuals that correspond with sound and are activated by physical actions that mimic that of a drum. Just by looking at it it is easy to discern the purpose of the piece and its function. Both drumkit sets created have their own unique identity and flair that is distinct and inspired; in the hopes of creating a connection with the user. The visuals and sound are carefully curated to create a specific experience with the 3D modelled drumkit as the vehicle that connects the user and allowed them to interact with these sounds and visuals in their own way, to their own rhythm however they please.

Prototype Link


Drumkit 3D Print

Image of the full 3D printed drumkit, drumsticks, stand, and MakeyMakey Close-up image of the full 3D printed drumkit, drumsticks, stand, and MakeyMakey The modified 3D printed drumsticks that has wire running inside of it to the tip that is covered in copper tape. The bottomside of the drumkit showing the copper tape connections


Sound Motion Graphics

Two sets of sounds and motion graphics made in After Effects to visualize the noises made from the drumkit. The first set is a basic drum kit and the second is an 8bit inspired one.

×

Powered by w3.css